
-

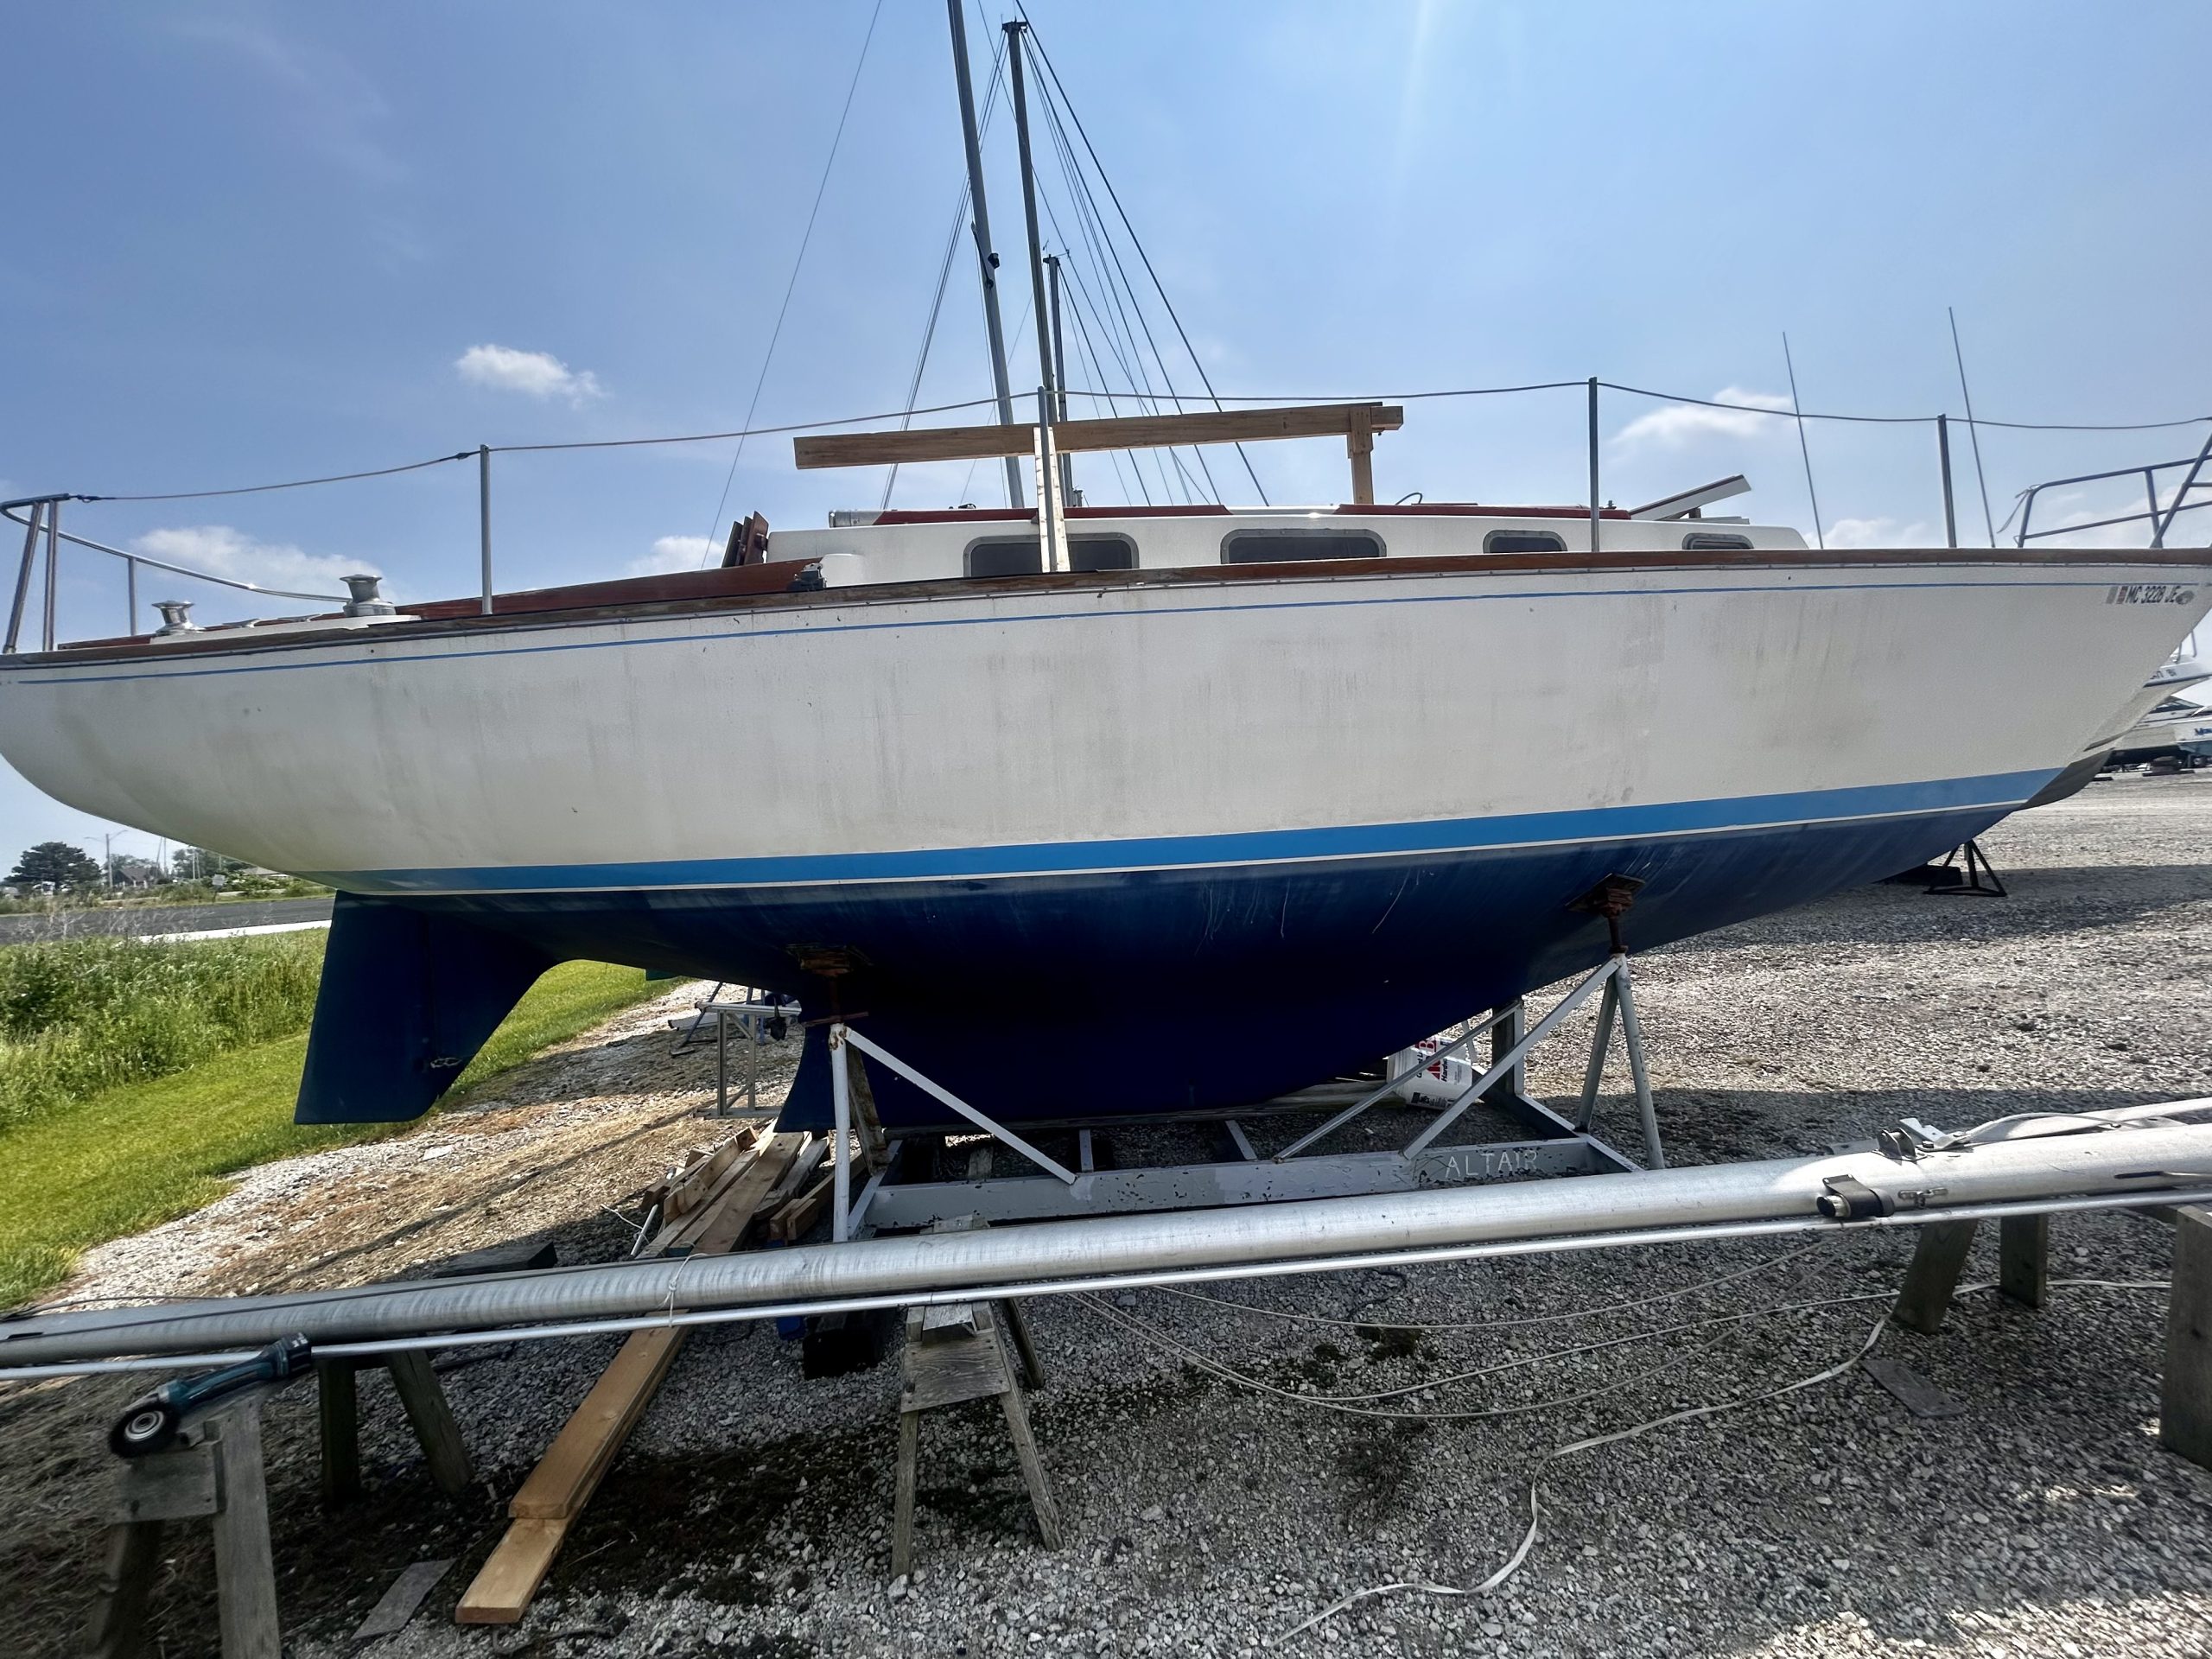
After a perfect shakedown sail from our winter storage to our summer dock, we loaded provisions and got ready for a several-weeks-long cruise. The goal was to explore the Great Lakes, but more importantly to simply try out live aboard life to see if it suits us. In addition to food, supplies, and equipment, the cabin got a bit of a makeover. A few last-minute projects involved a lot…
-
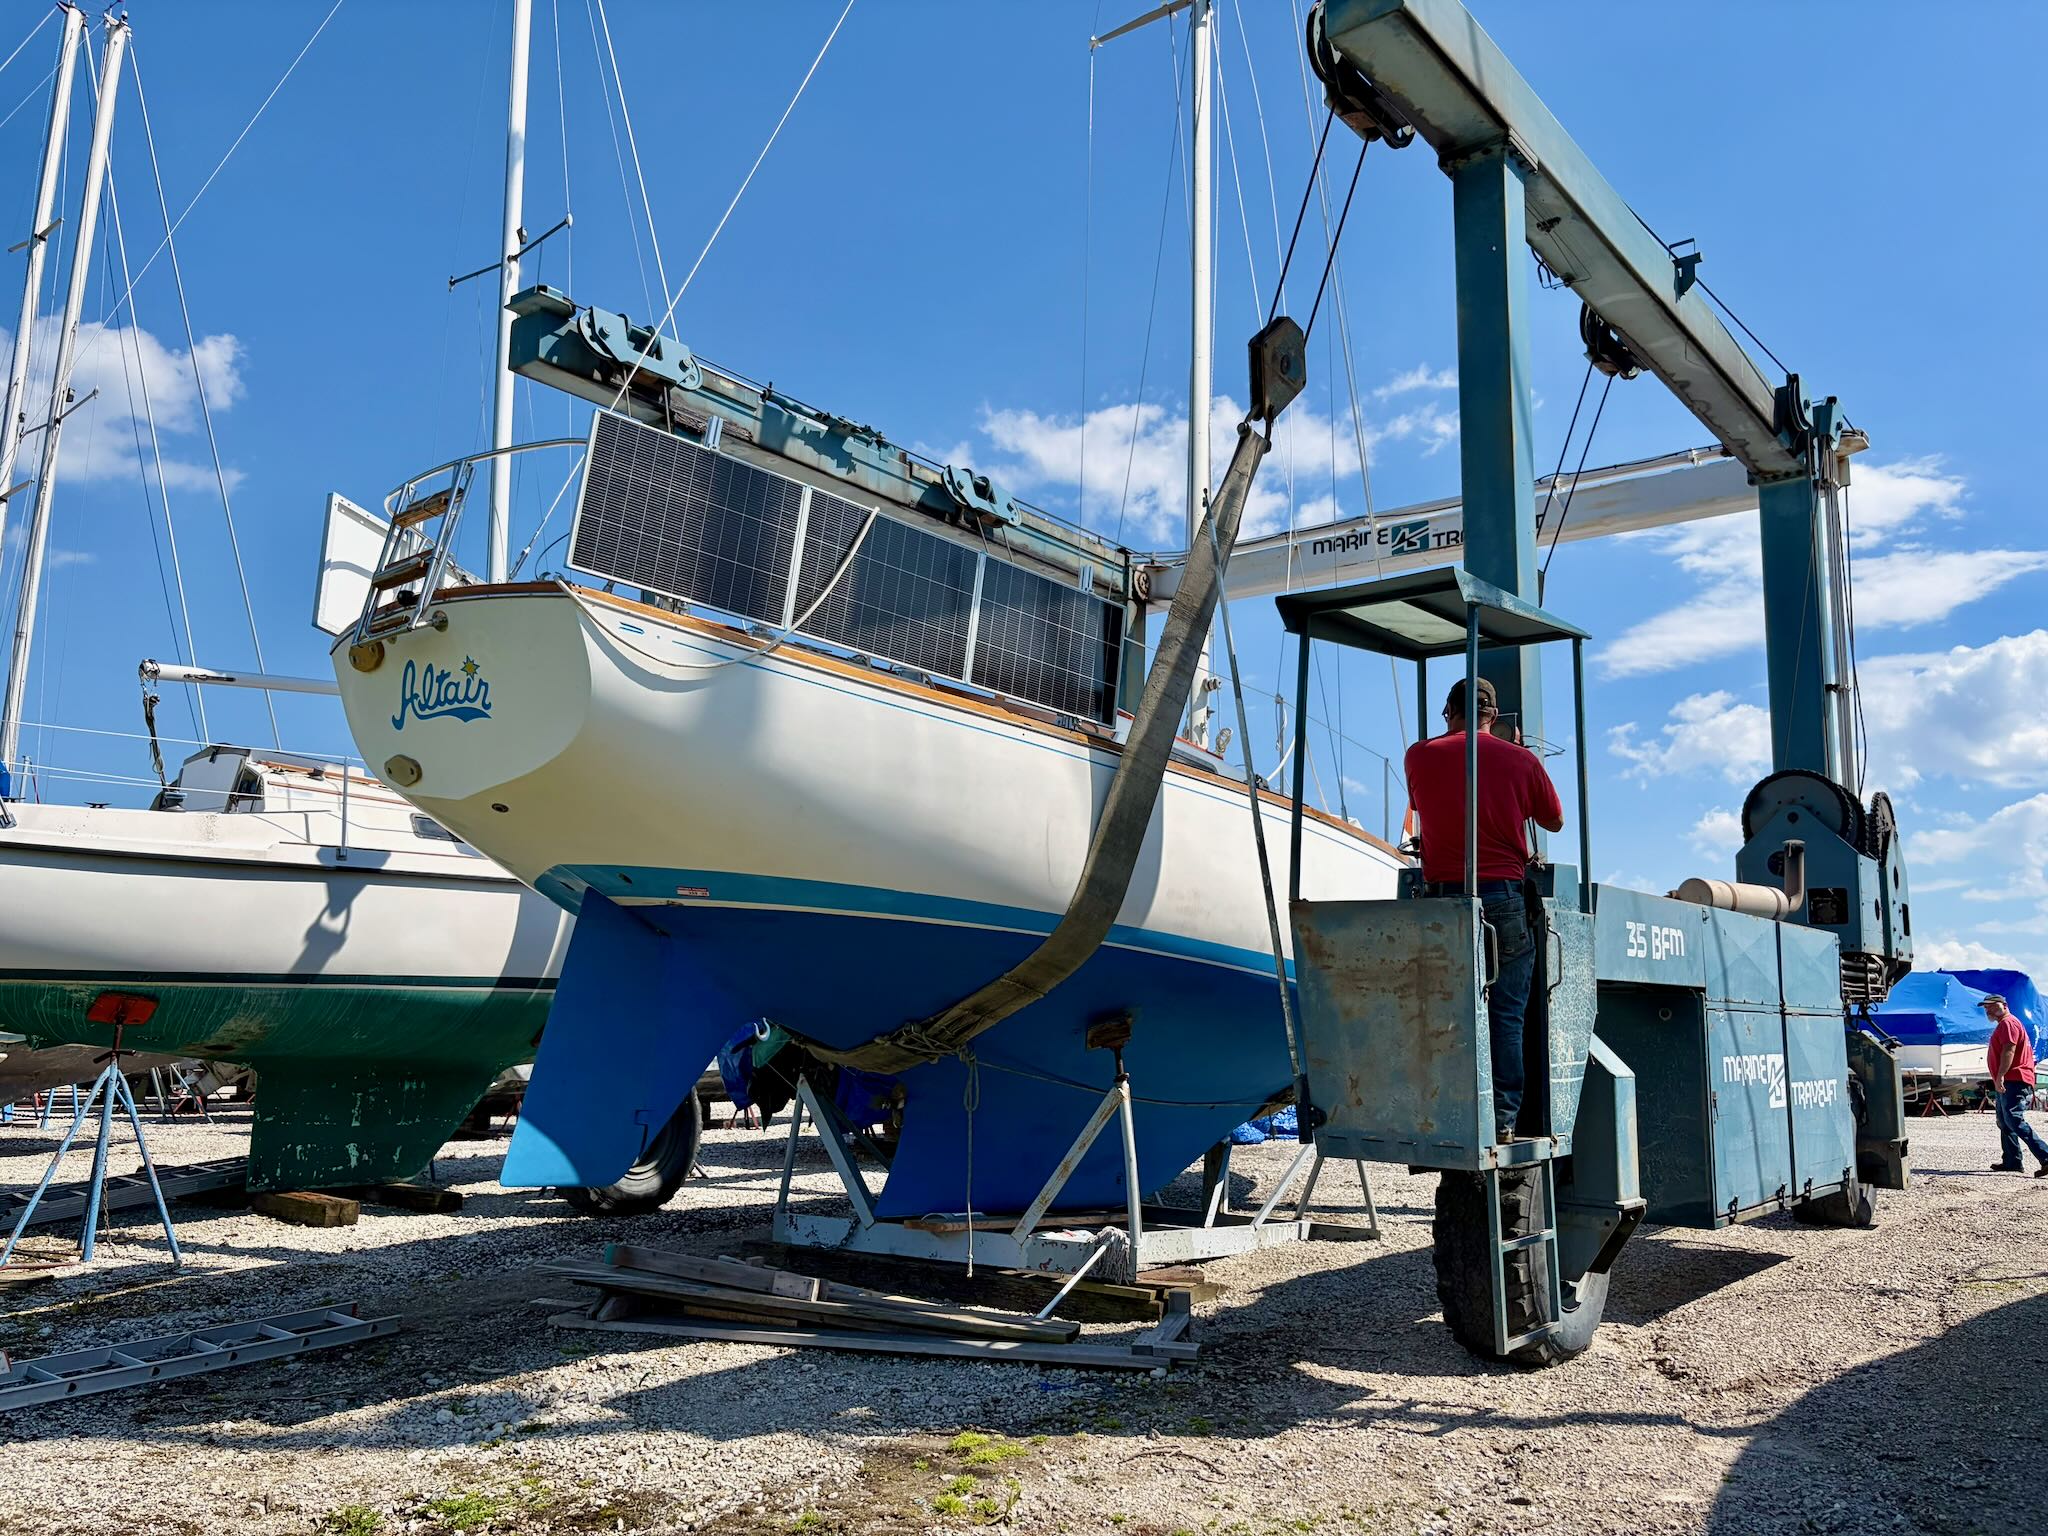
We had been planning to splash today in the morning, but because of the marina scheduling they actually did it last night! That gave us an easy start to the day today, since she was already in the water. Today’s adventure was to sail from the marina where we wintered to our new marina. This year we’re keeping the boat closer to our land home, about 30 miles north…
-
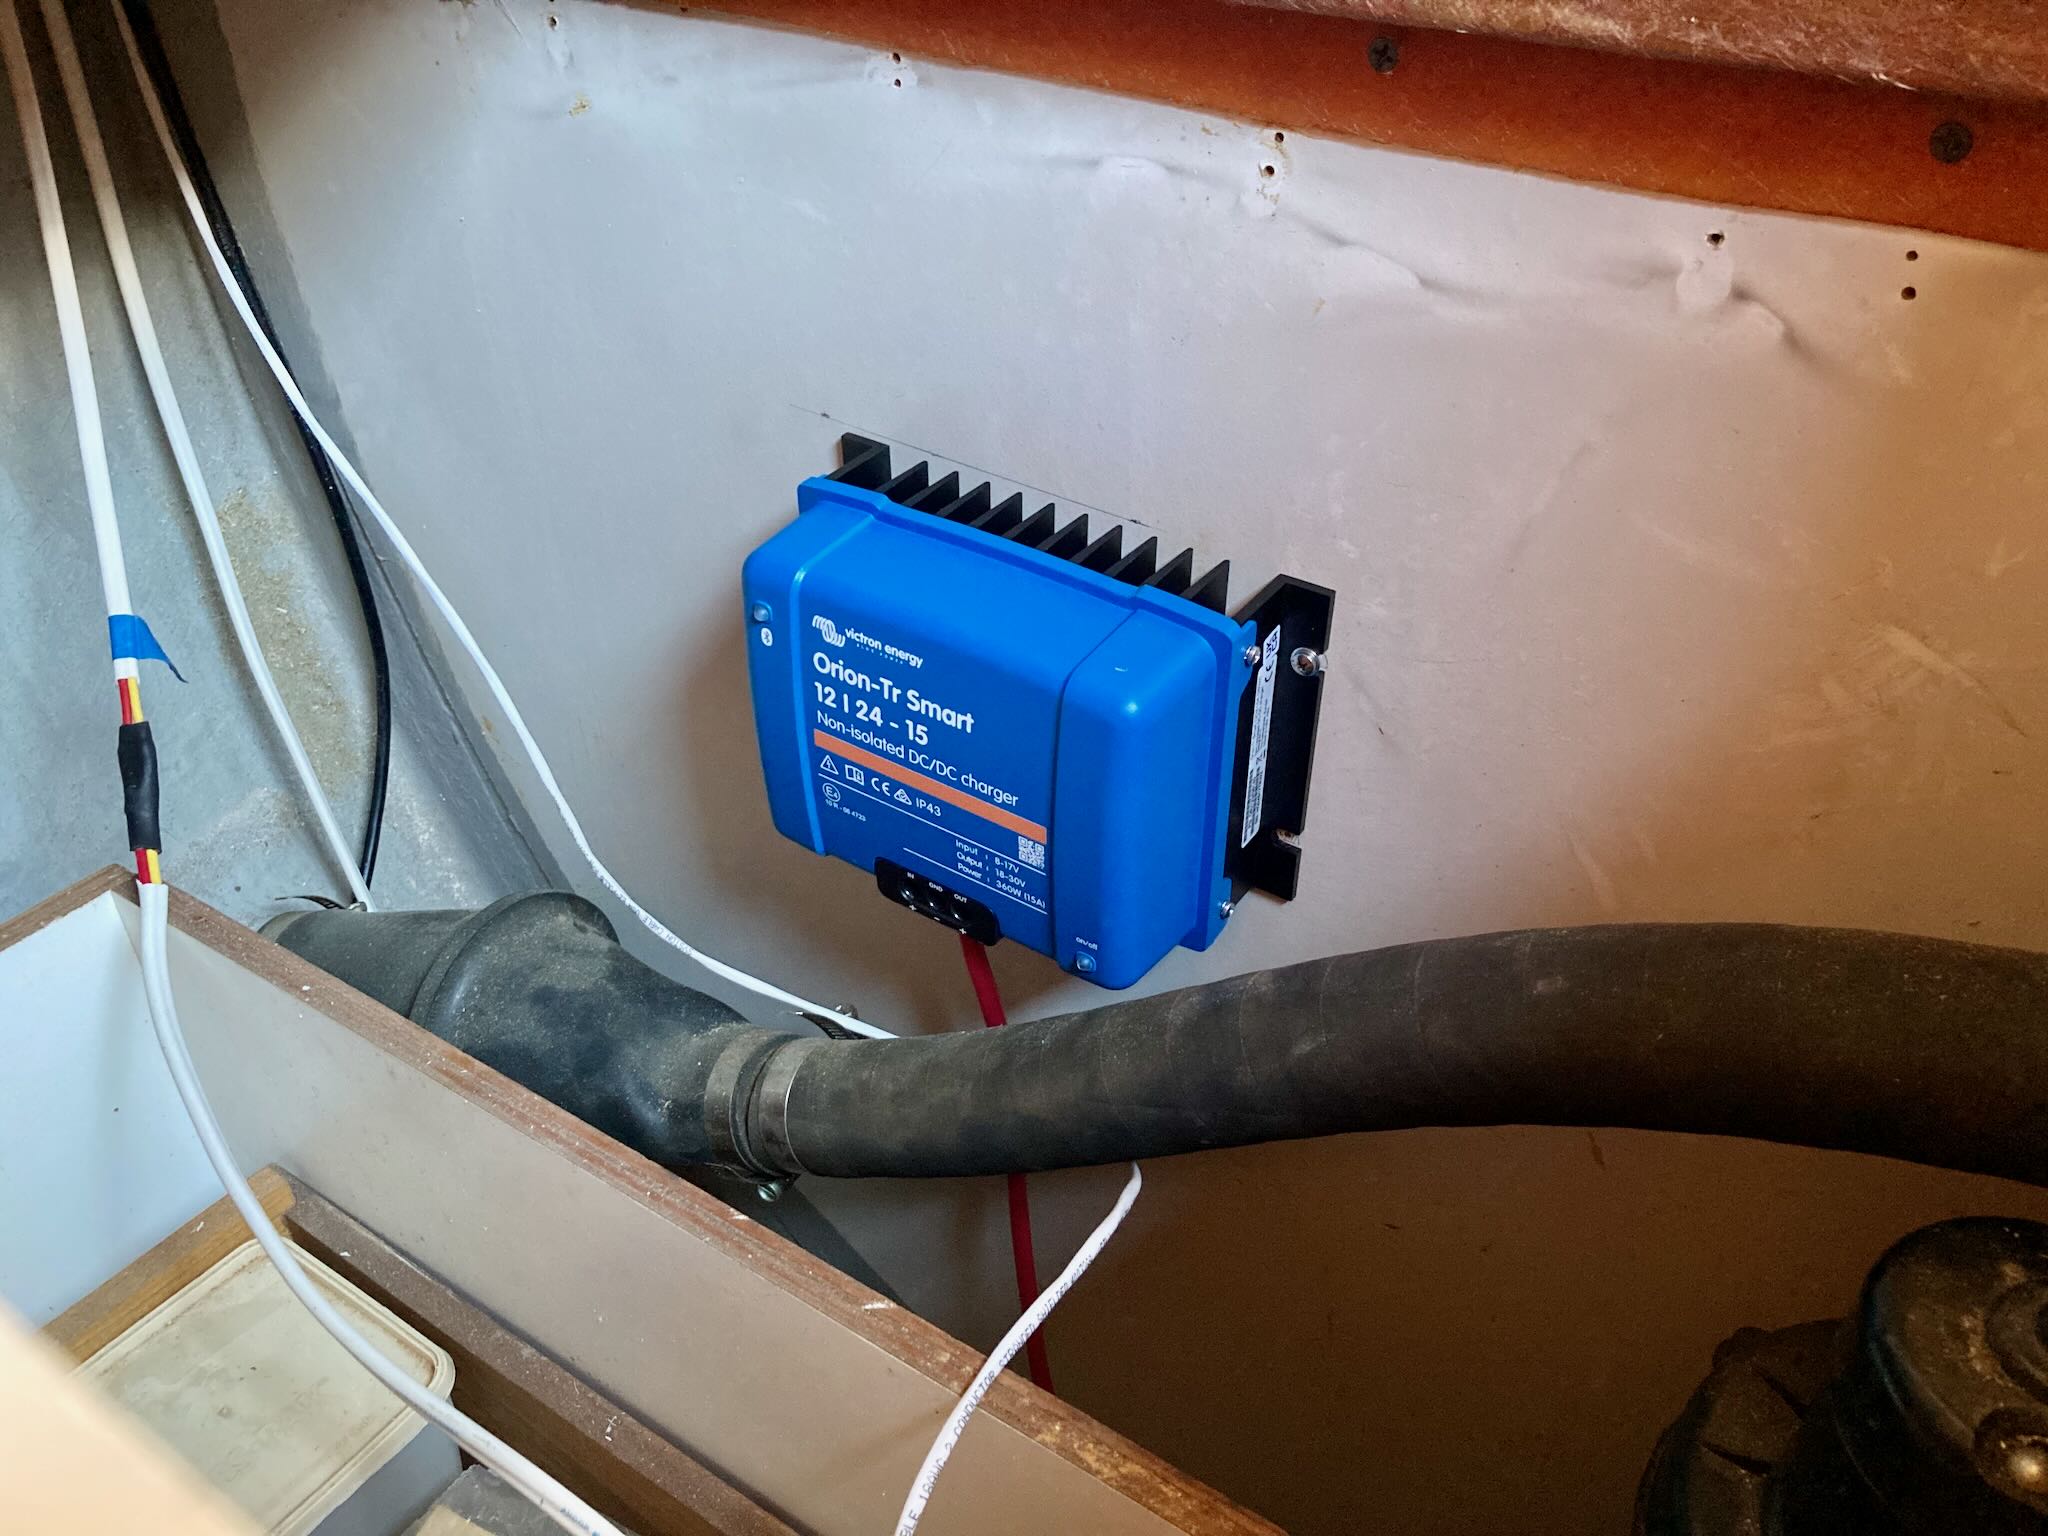
This week’s project was to install a DC-DC charger which will charge the house battery from the alternator on the engine. The engine electrics all run at 12VDC with a standard car/lawn mower type battery. My house battery is a LiFePO4 with a nominal 24VDC (actually closer to 29V when fully charged). Nate identified the alternator as having a rating of 35 amps. A rule of thumb I heard…
-
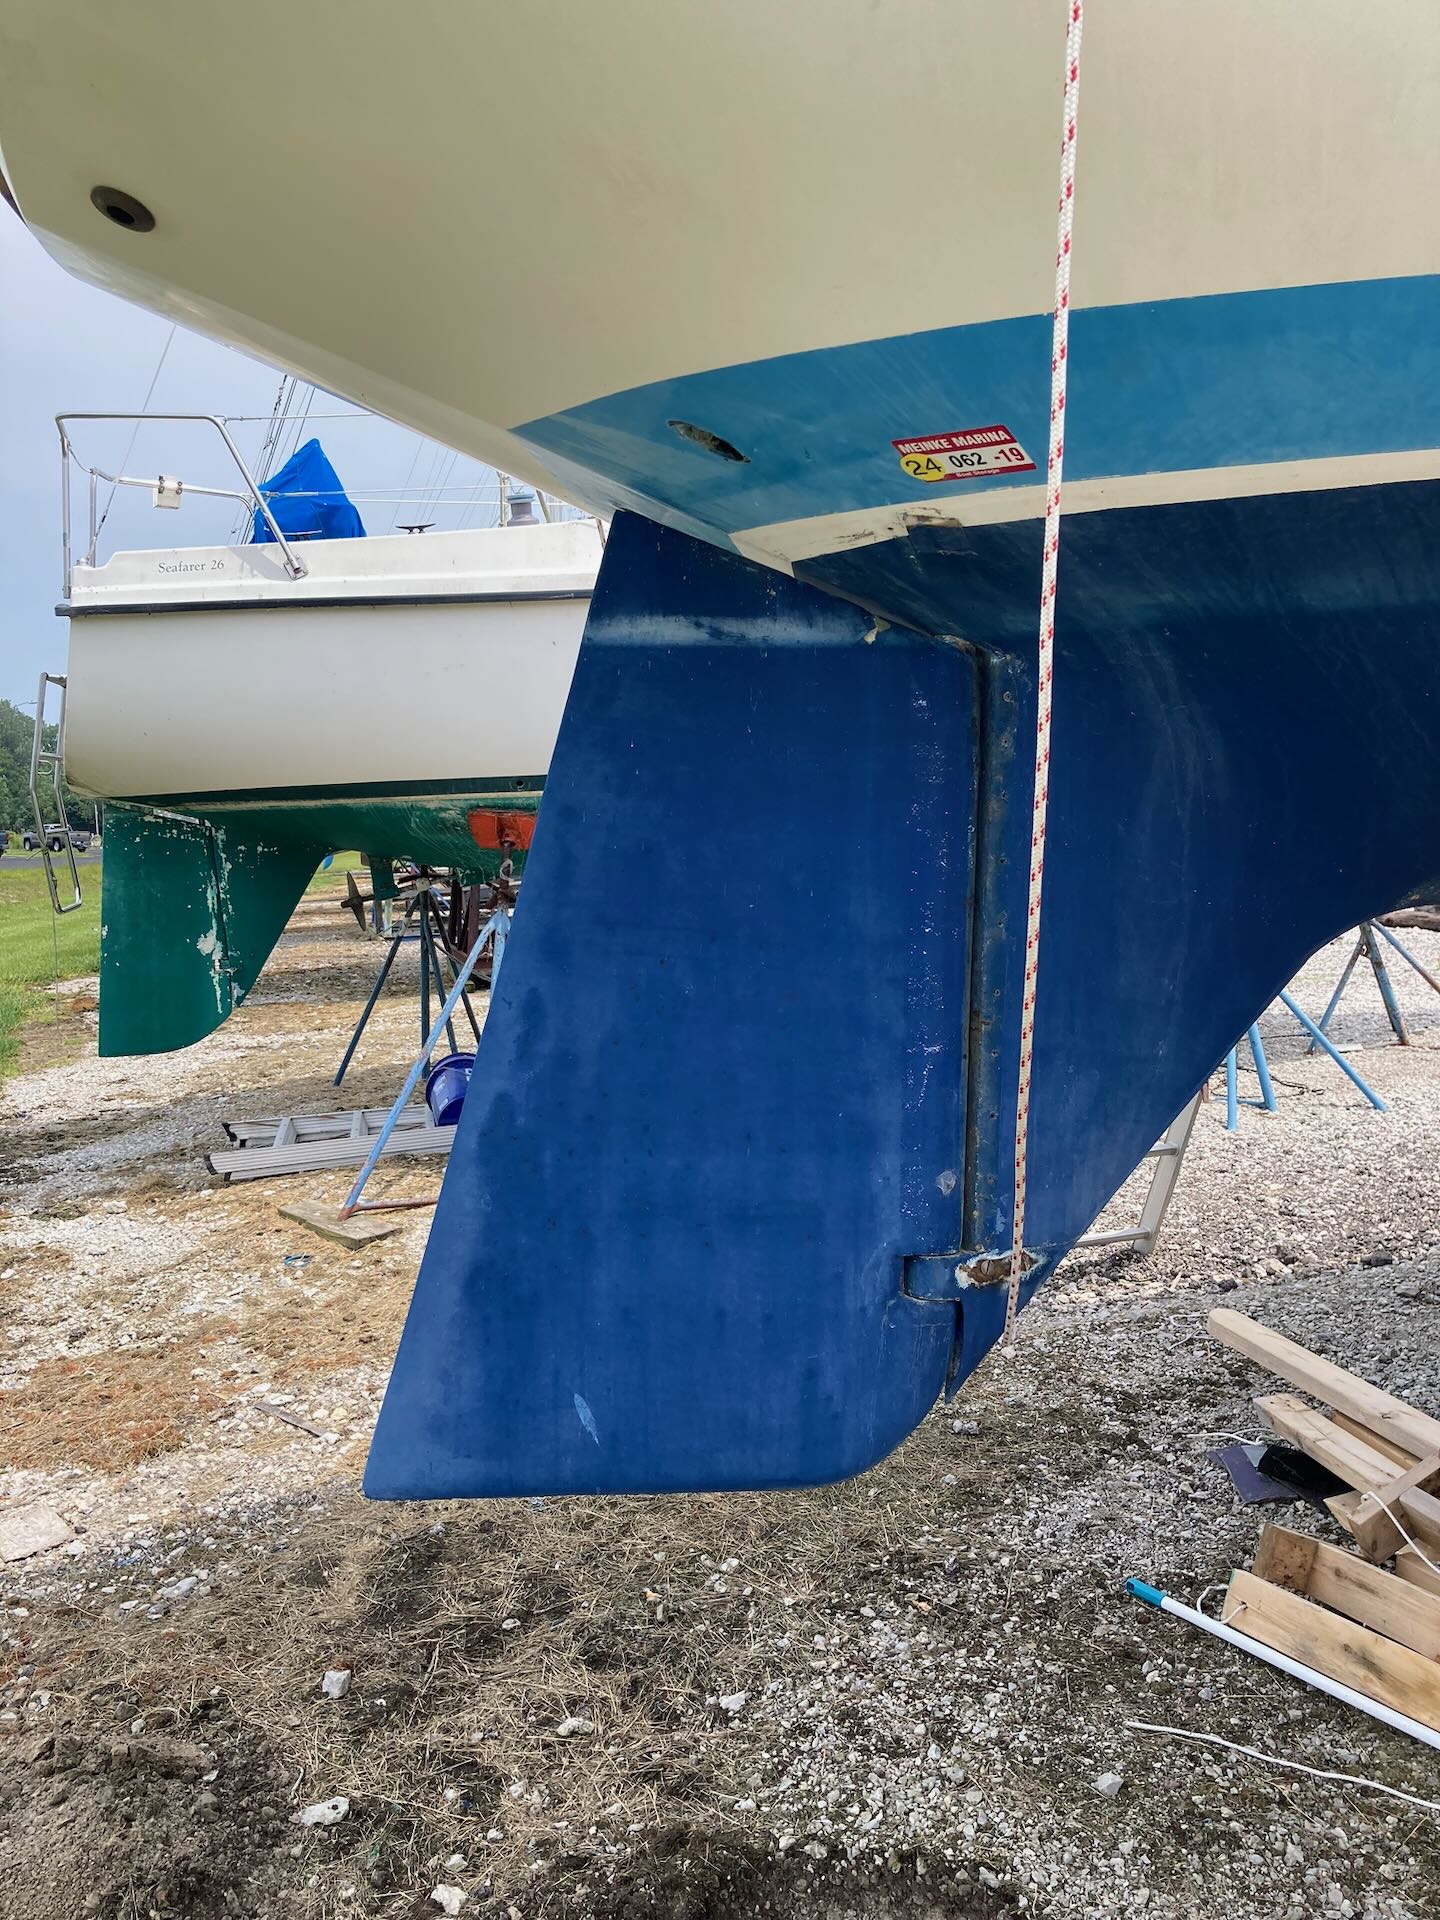
The first order of business before getting the boat in the water was to repair the rudder. There were signs that water had gotten inside, most visibly from a crack along the top edge of the rudder (against the hull). While it might have been possible to execute the repair while the rudder was on the boat—and many professionals will do the work this way—I decided that removing it…
-
Ever since I was a kid, I had a dream that someday (someday) I would live aboard a sailboat and sail around the continent. As my partner and I started dreaming together, we got into the habit of watching sailing videos on YouTube. One sailor repeated the advice that the best time to sail is now: if you are thinking about it, don’t wait until the perfect opportunity comes…
- *Support Us
- Clubs
- Fellow Sailors
- Retailers
- Marine Outfitter
- Quality Marine Products
- Supplier of Atomic 4 Stuff
- All the Atomic 4 parts you'll need
- Tartan 34C Information
- Overview of design, costs, repairs, etc.
- Detail of Altair as configured