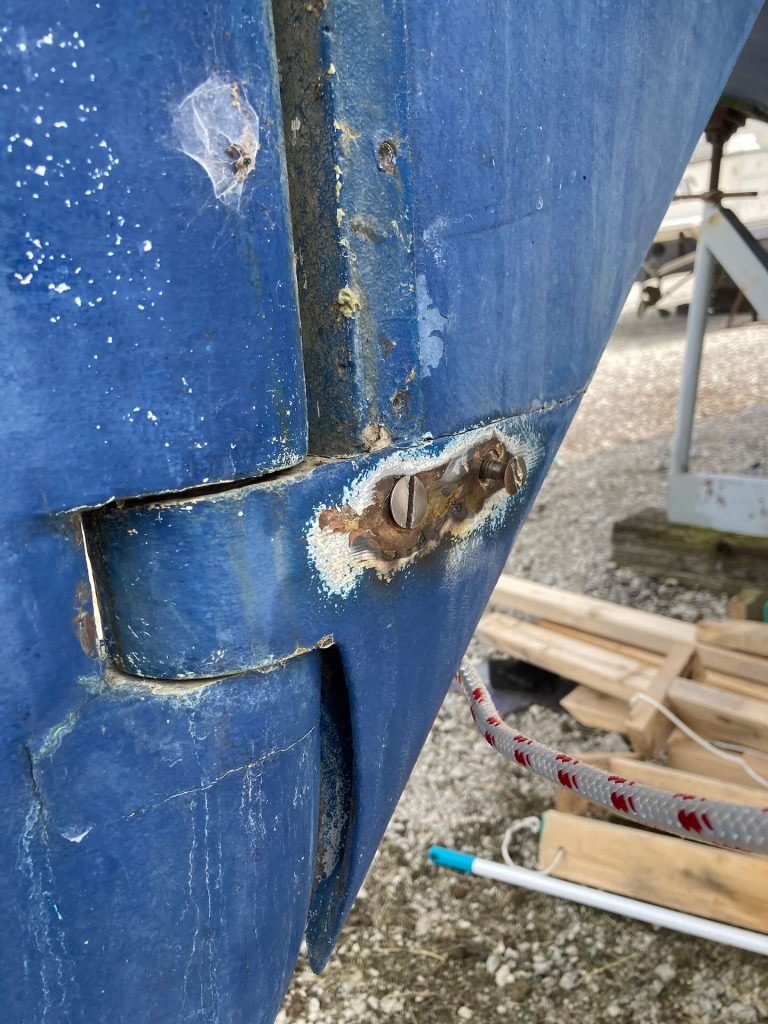
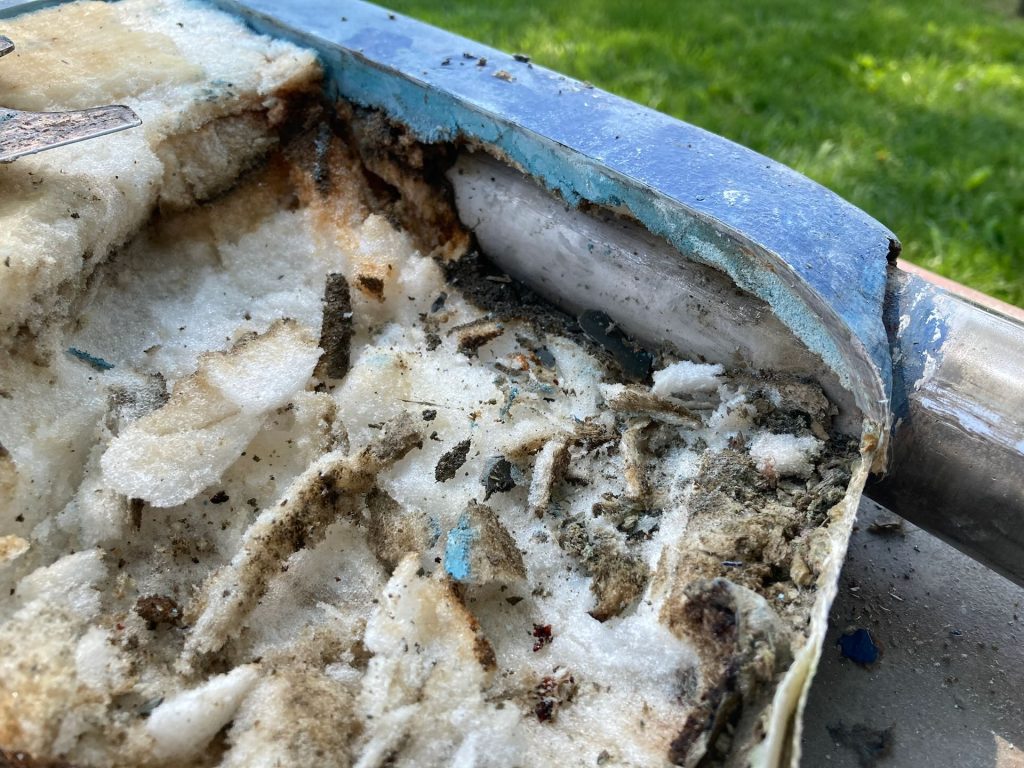
The first order of business before getting the boat in the water was to repair the rudder. There were signs that water had gotten inside, most visibly from a crack along the top edge of the rudder (against the hull).
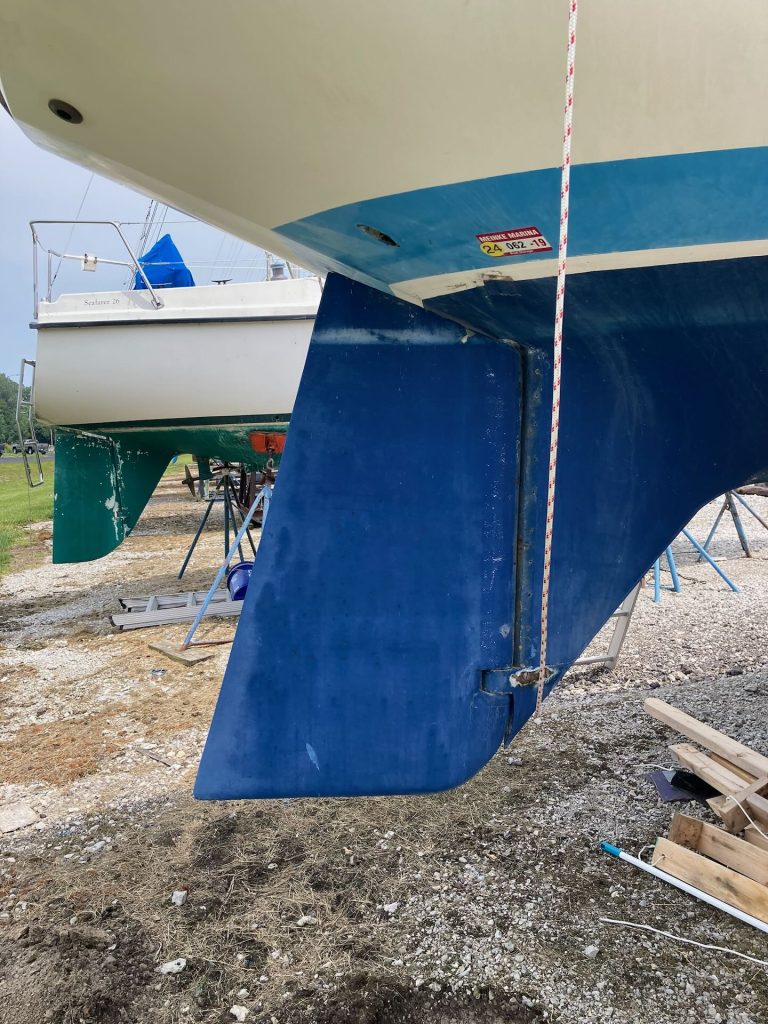
While it might have been possible to execute the repair while the rudder was on the boat—and many professionals will do the work this way—I decided that removing it and doing the work in a more convenient location would be far easier for me. But, of course, that meant I had to figure out how the rudder comes off the boat. This is not a procedure that the manufacturer intended to be done very often, if at all.
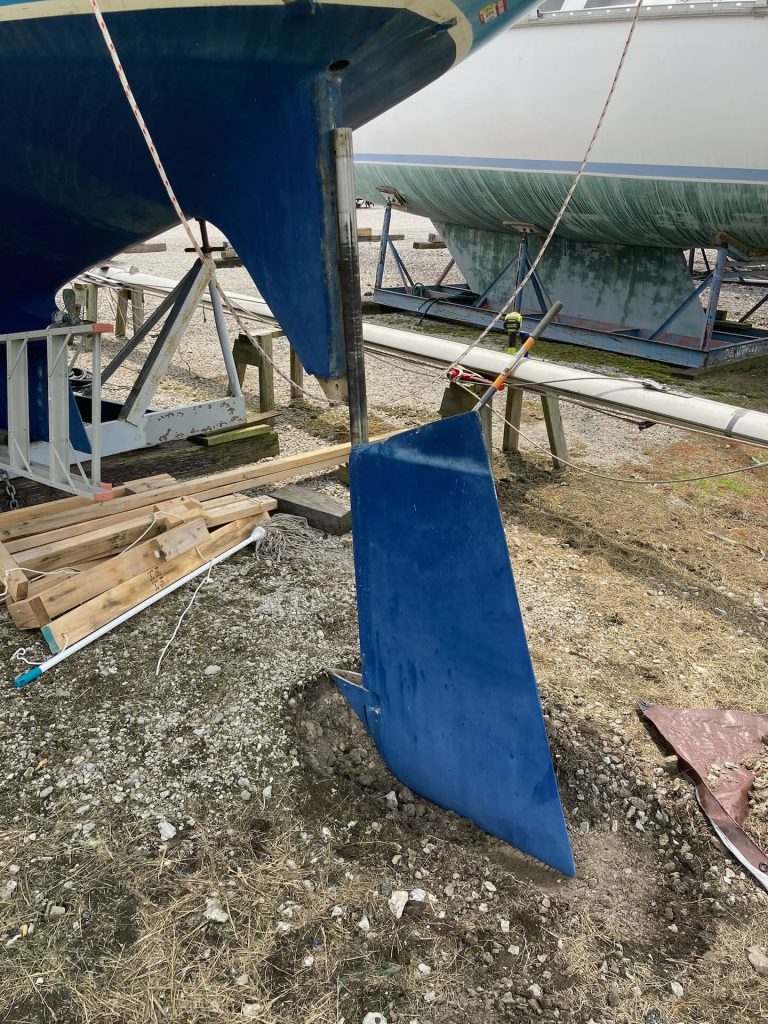
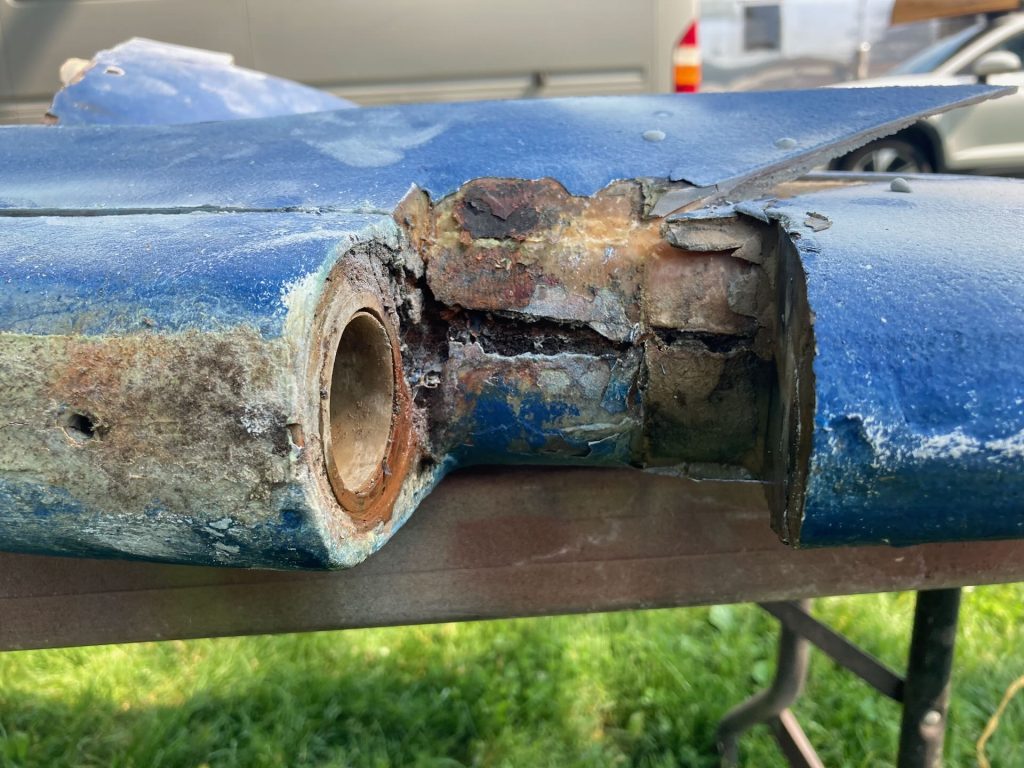
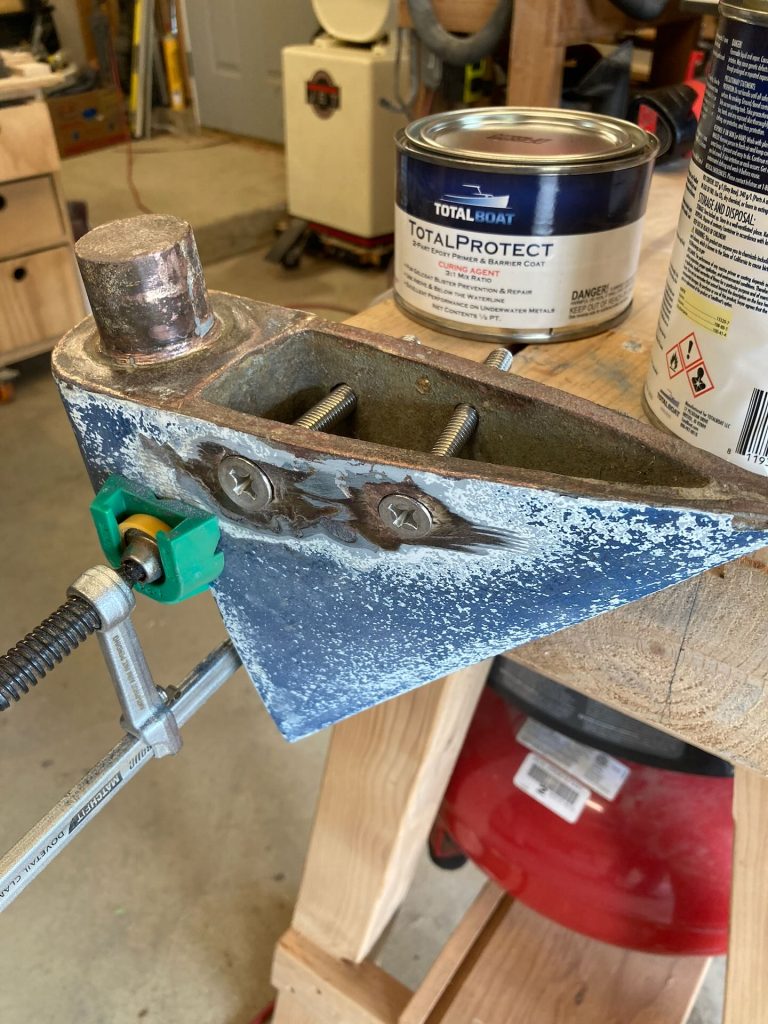
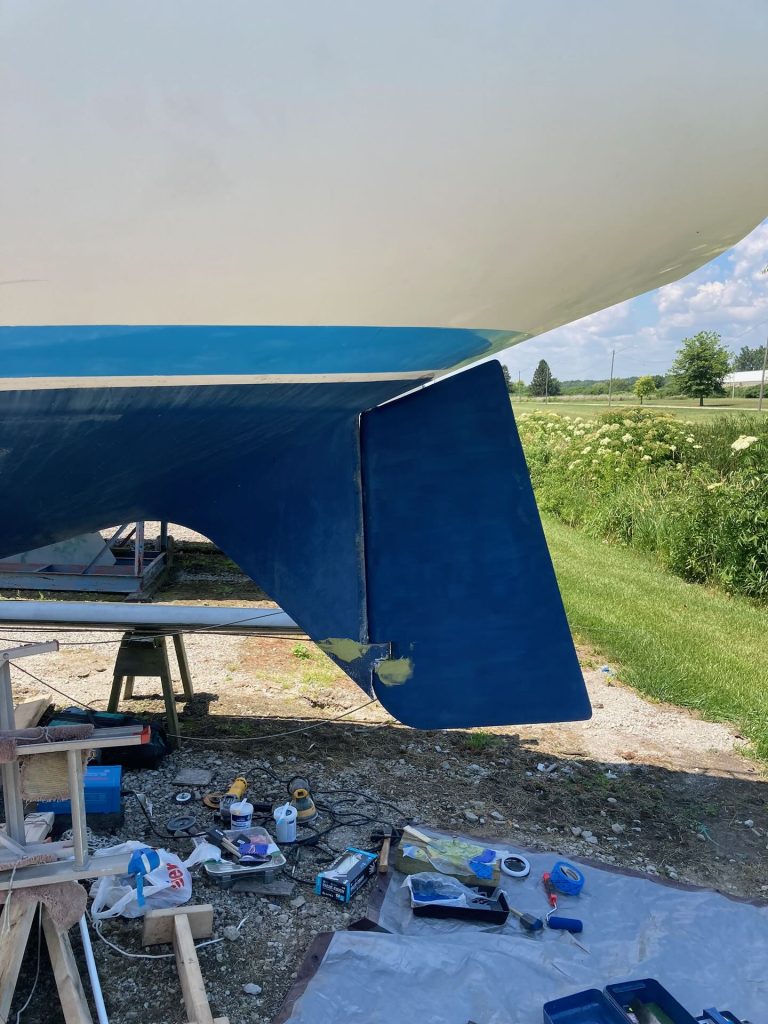
Simply speaking, a bronze piece bolted to the foot of the skeg contains a bearing where the base of the rudder post rests. Remove two bolts and everything comes off the skeg. The rudder post exits the hull downward, which means that we needed enough clearance under the hull for it to come out. We got lucky in that by digging out a few inches of gravel we were able to create this clearance. If the cradle was not set on the edge of a small hill, we likely would have had to lift the boat off the cradle in order to remove the rudder.
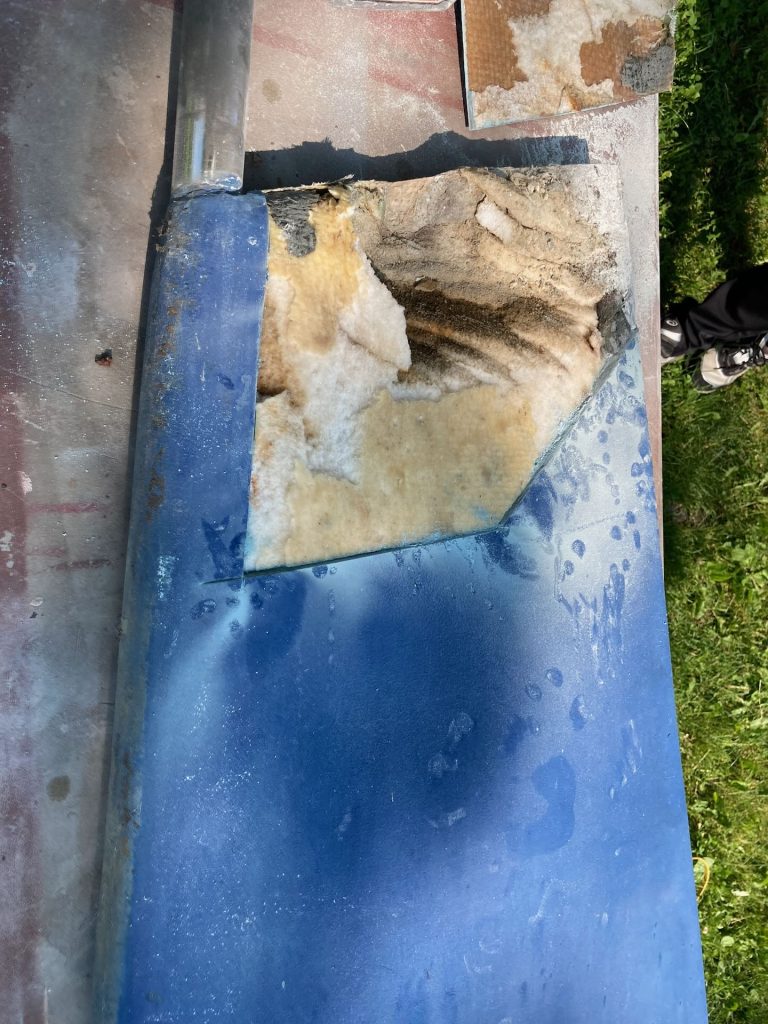
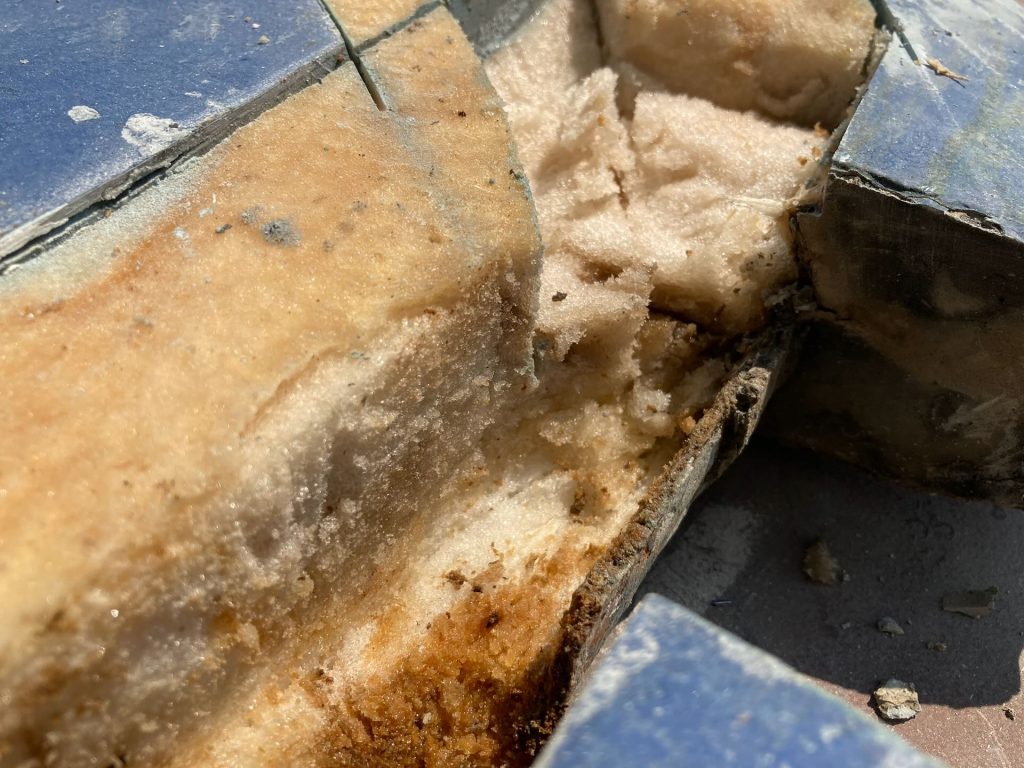
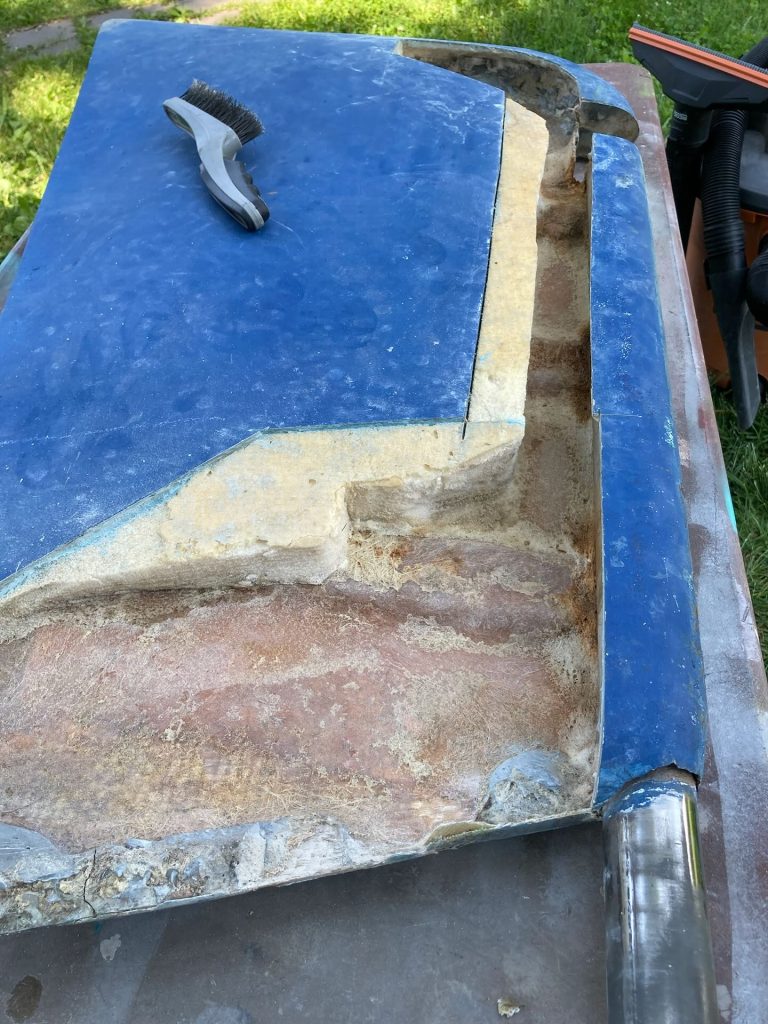
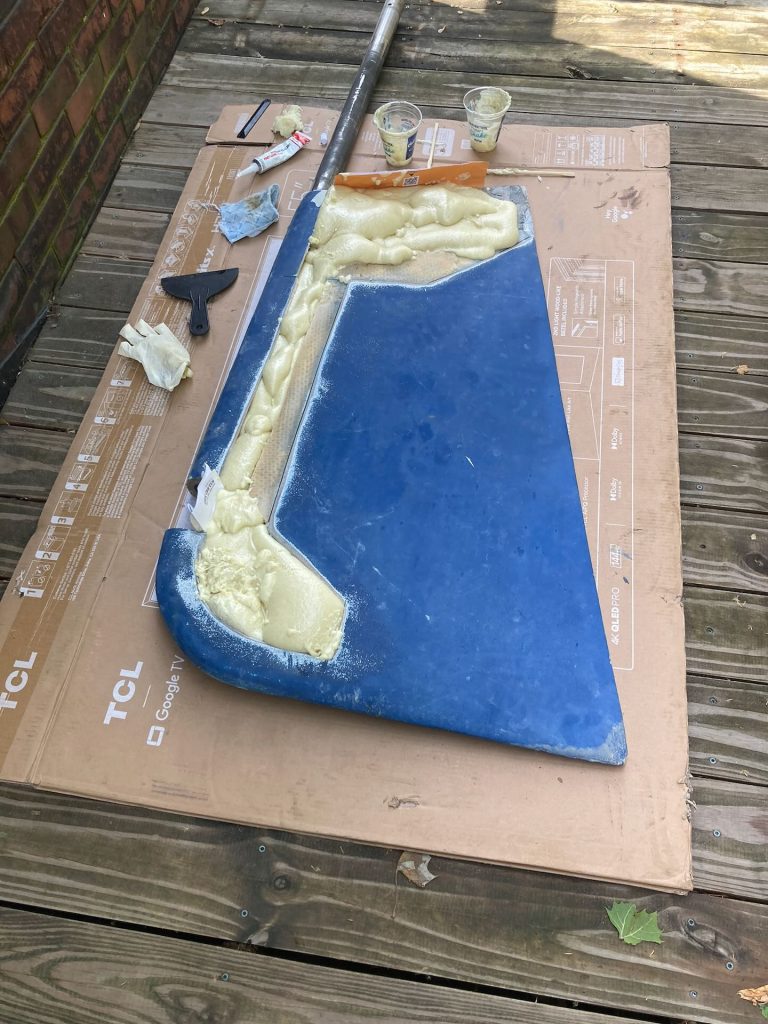
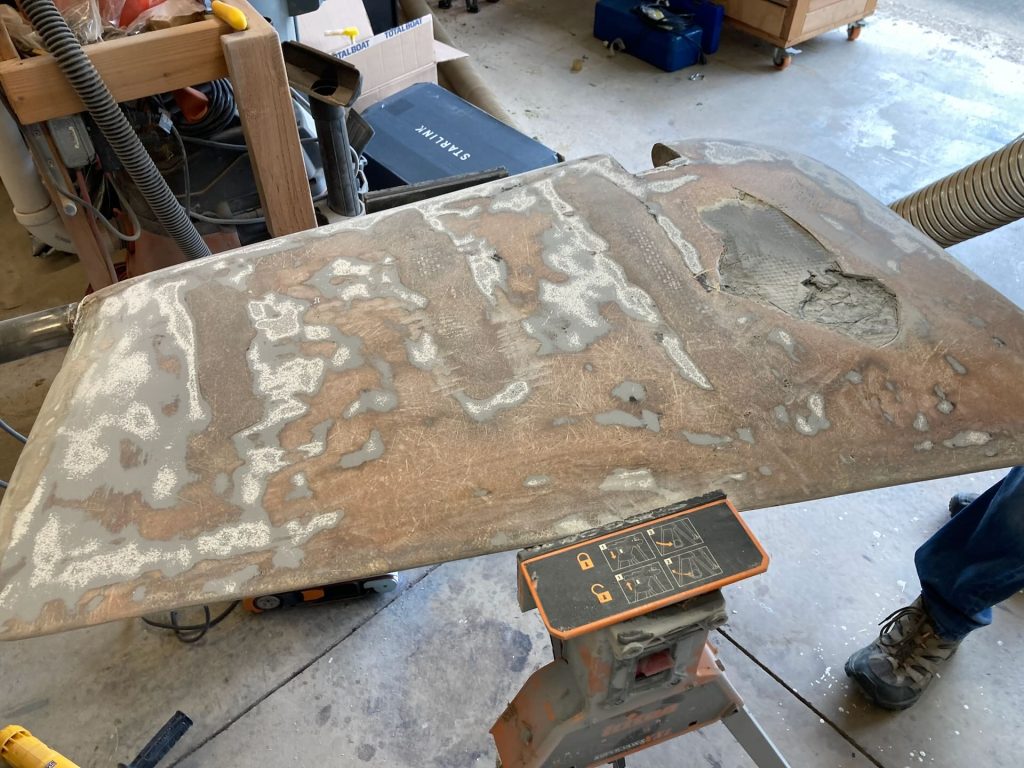
Once off the boat, repairing the rudder was a simple job of removing damaged material and then rebuilding the foam-core rudder with new two-part expanding foam and a new fiberglass skin.
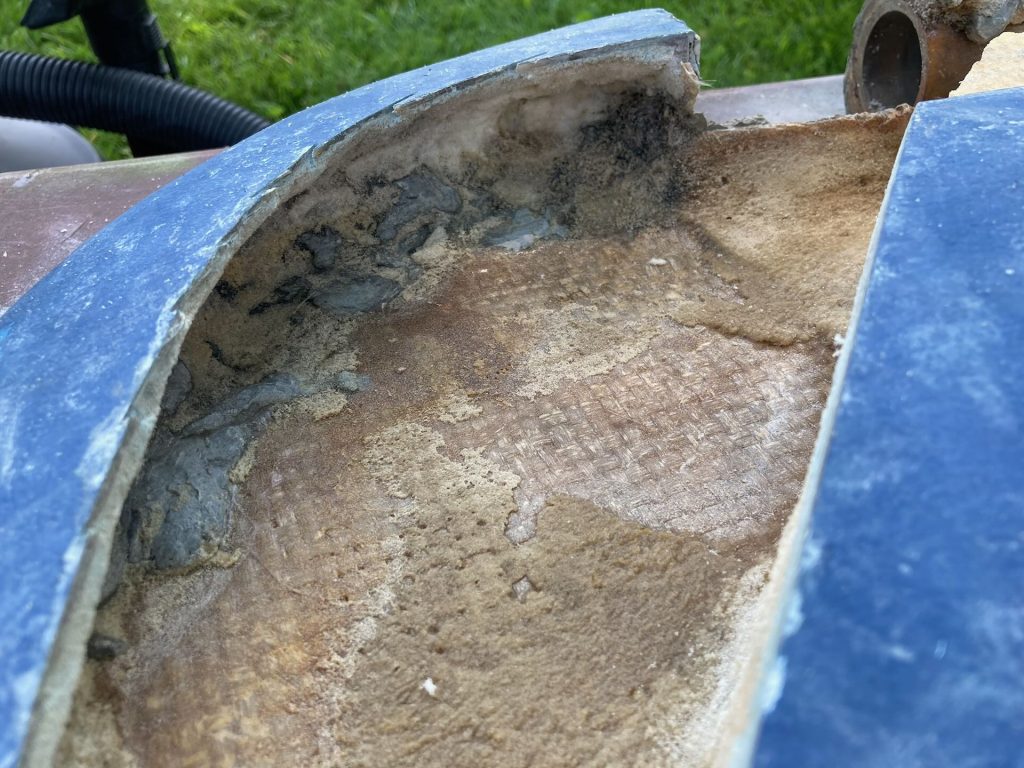
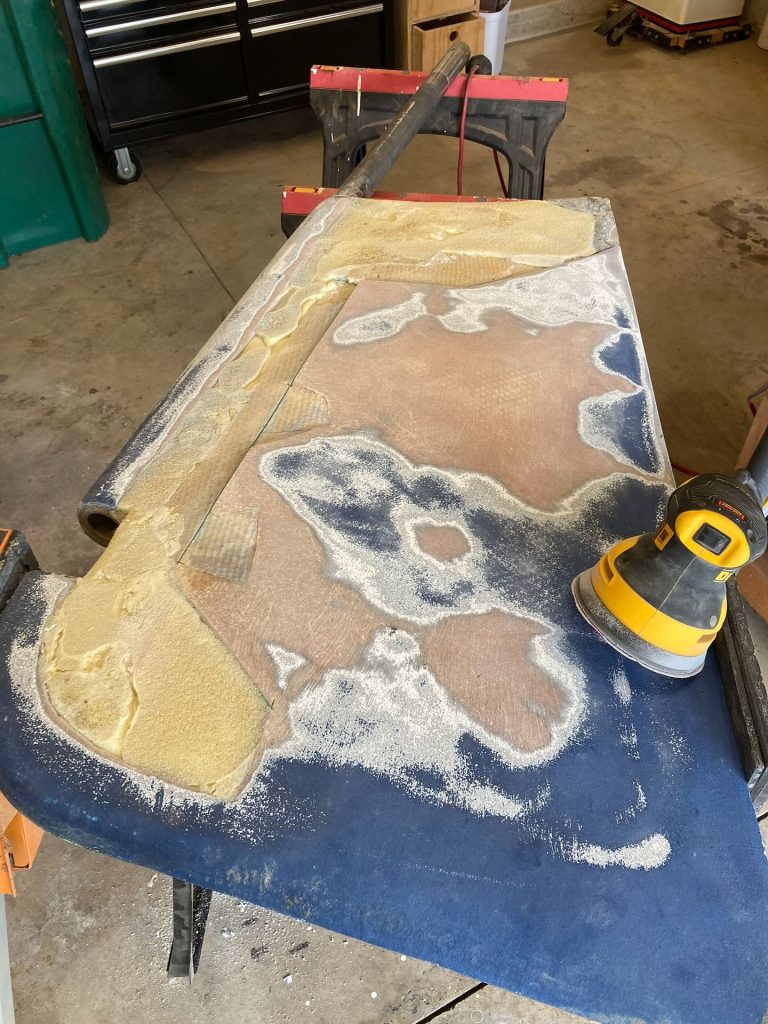
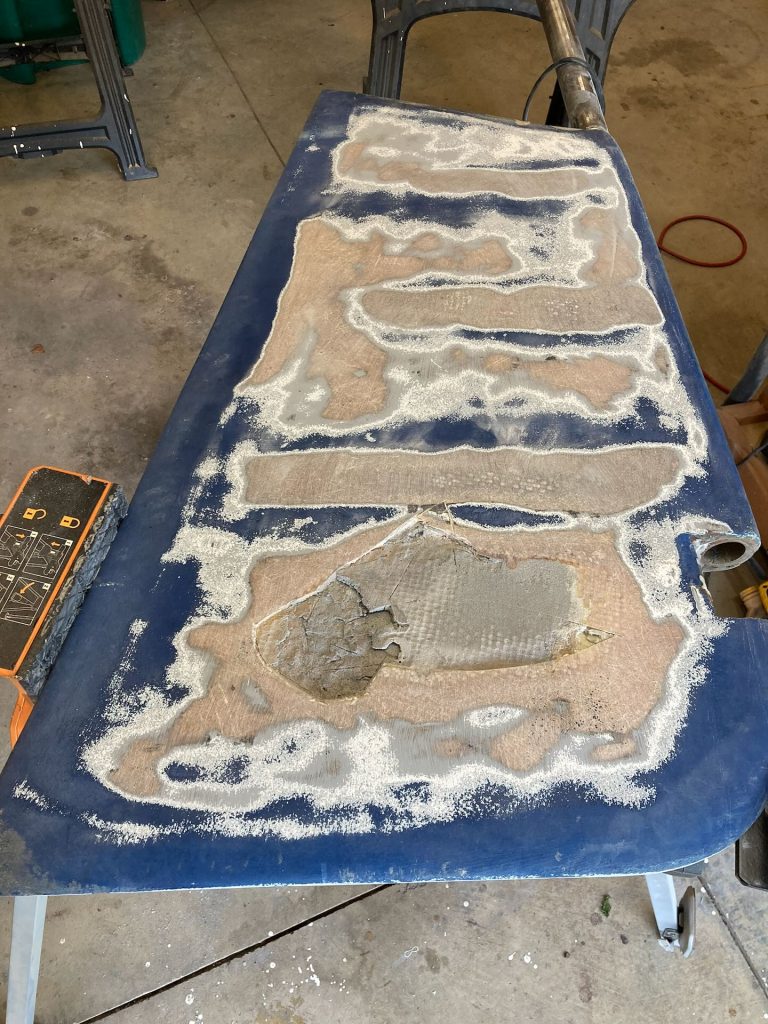
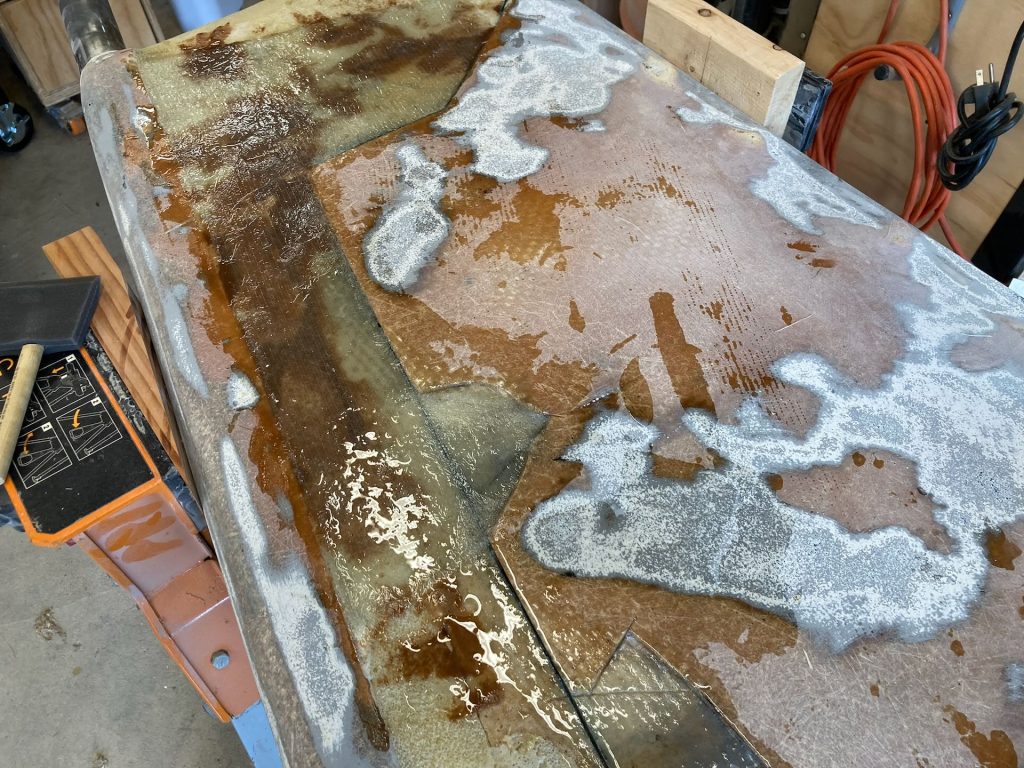
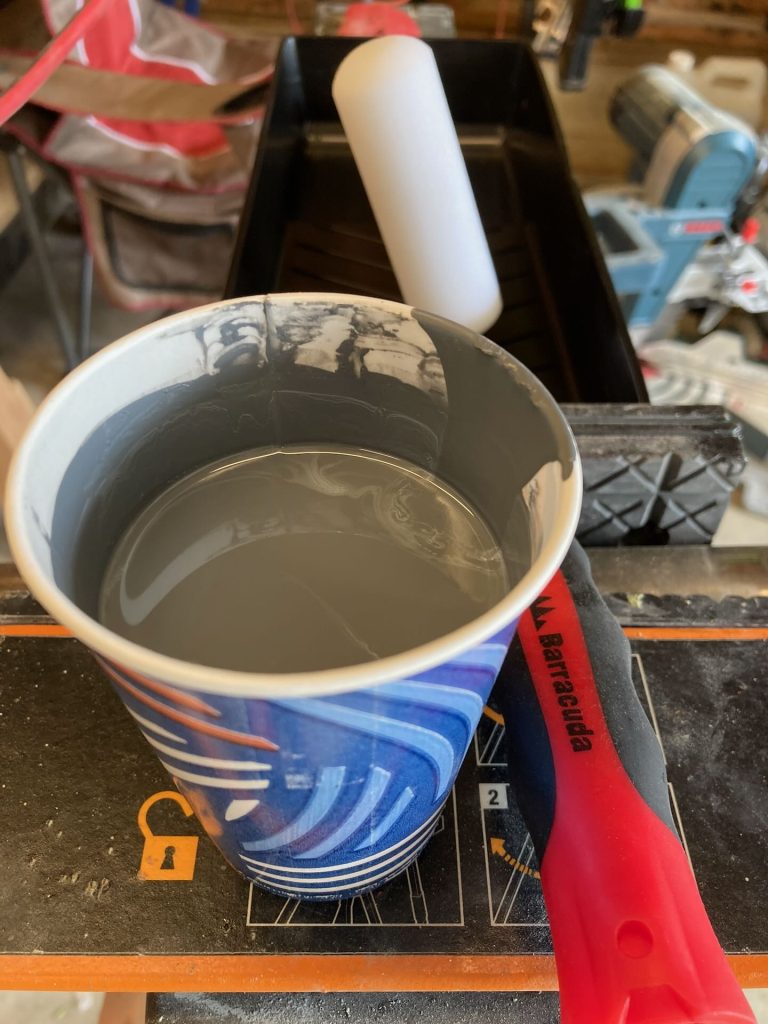
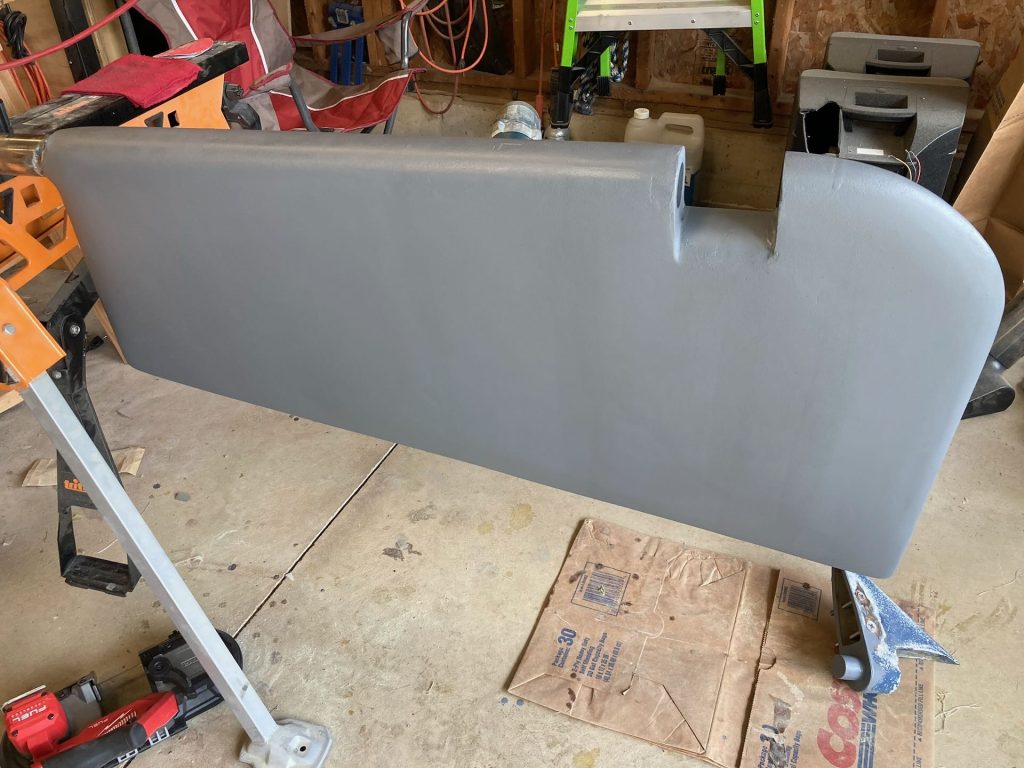
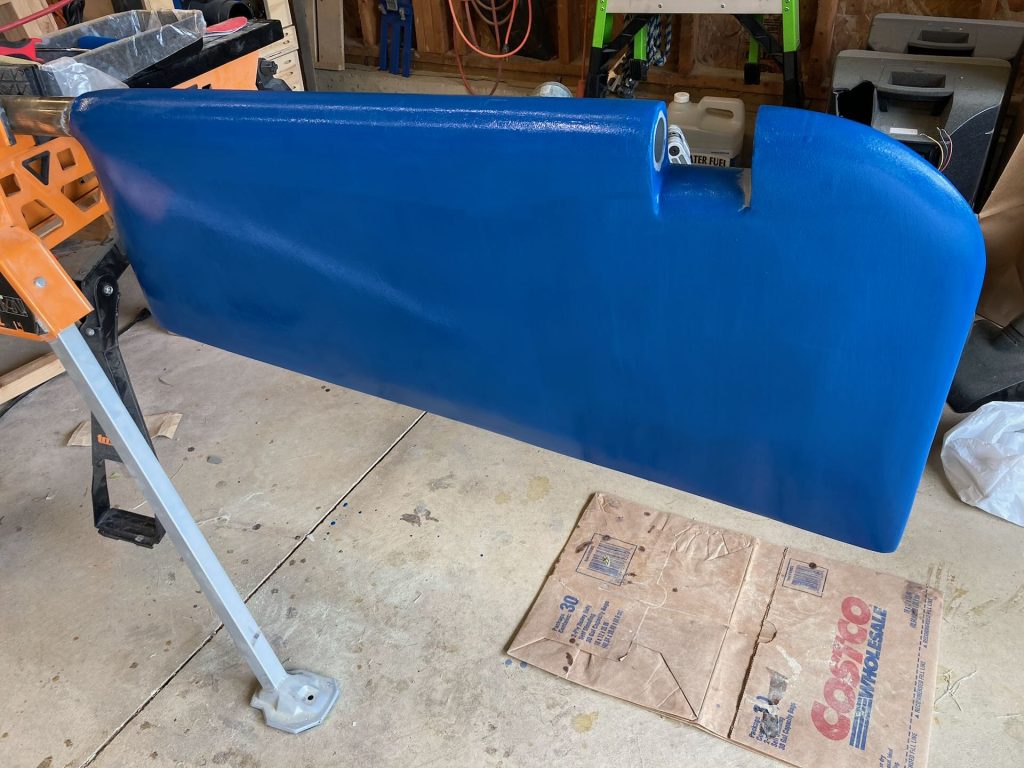
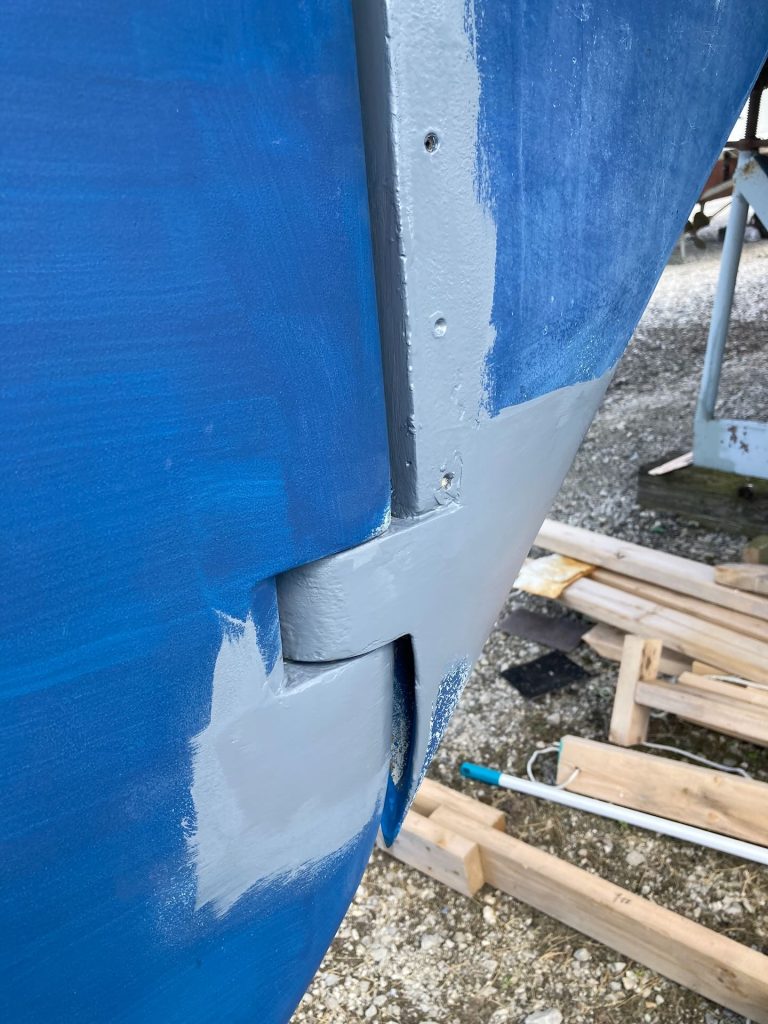
The first step was figuring out how to remove the rudder from the boat. While it’s sometimes possible to repair a rudder in place, the extent of the damage led me to believe that it would be much easier to do the work in a shop rather than in the field. Two bolts effectively hold the bottom of the rudder to the bottom of the skeg, and they were hidden under fairing compound and paint.Detaching the rudder post from the boat, with a safety line to keep the rudder from falling to the ground.We were lucky because the ground sloped away from the stern, and we were able to drop the rudder after moving only a few inches of gravel beneath. In another situation, we may have had to hoist the boat off its cradle to drop the rudder.In the comfort of a backyard shop, I started to dig into the rudder to assess the damage.Section by section, removing the outer skin and cutting out damaged foam.Following moisture and mold stains, I found that the damage extended the entire length of the post inside the rudder.Here is a closeup of the area around the bottom end of the shaft, where it attaches to the skeg.Finally clean and dry, this view from the top of the rudder shows the extent of the repair.This view of the bottom of the rudder shows the extent of the repair.Two-part expanding foam fills the cavity.Cleaning up the exterior of the rudder, in preparation for a new fiberglass skin over the repair.Turning to the starboard face, I took the opportunity to do some fairing. One small section of the skin deserved some repair, which ultimately extended into the repair from the port side.Eventually the blue ablative bottom paint was completely sanded off so that the rudder is ready for new glass and finish.Here comes several layers of glass. Not knowing what protocol to use, I tried to match the thickness and material used in the original construction.This piece that holds the rudder to the bottom of the skeg is solid bronze and needed no repair, but it deserved a cleaning and prep for new paint.Two-part epoxy primer seals everything.A couple coats of primer leaves the rudder looking solid again.Finally, a finish coat was easy to apply while the rudder was still off the boat.The skeg and rudder joint received some fairing compound after installation so that everything is smooth and unified.And some primer to seal over the faired joints.
Leave a Reply