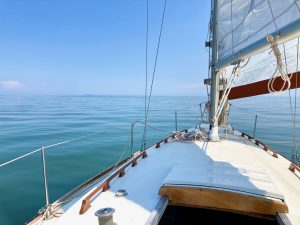
• We had been planning to splash today in the morning, but because of the marina scheduling they actually did it last night! That gave us an easy start to the day today, since she was already in the water.
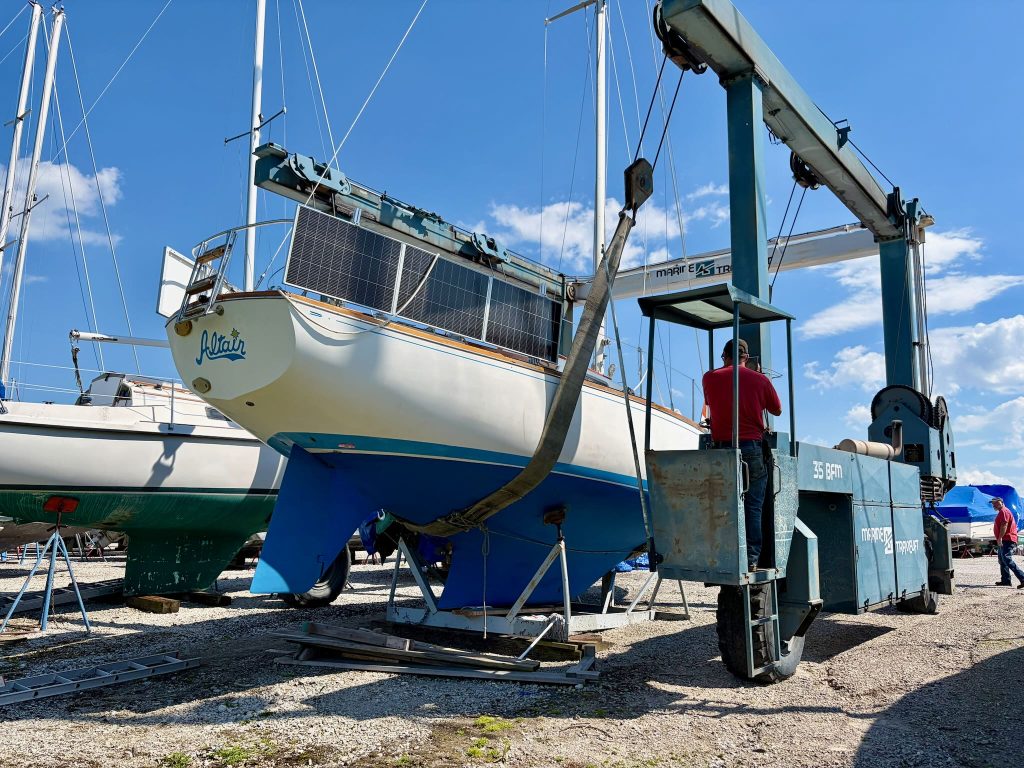
    Altair in the lift sling, ready to get wet

    Today’s adventure was to sail from the marina where we wintered to our new marina. This year we’re keeping the boat closer to our land home, about 30 miles north across the lake. We got lucky (or our forecasting was spot on, who can say which) and the weather was excellent. We also got a chance to shake down and try out some new equipment.

    Among the new additions I added over the winter: solar power, Orca Core 2 for navigation, and a Raymarine autopilot.

    Solar Power

    The first major upgrade of the winter was 600 watts worth of solar panels. I was able to get this up and running before the end of 2025 to take advantage of the tax credits before they expired. But of course using the power on the water is far more interesting than using it on land.
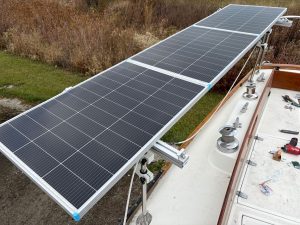
    solar panels folded out
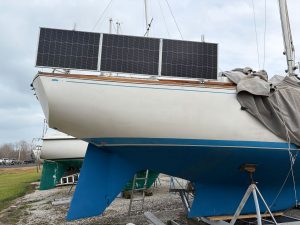
    solar panels folded down

    This is plenty more power than we technically need at the moment, but it will give us room to grow into as we add more electric appliances. At some point soon we’ll likely expand with a refrigerator and maybe an induction cooktop. But before we do that, our battery is the new weak point in the system. With only 40 Ah of storage we have plenty to run all the navigation equipment, but not much else.

    The real test today was confirming that the mounts were sufficient to hold the panels against a moderate breeze, and that they don’t interfere with moving about the cockpit to operate the sails. Everything feels good so far!

    Orca Core Navigation
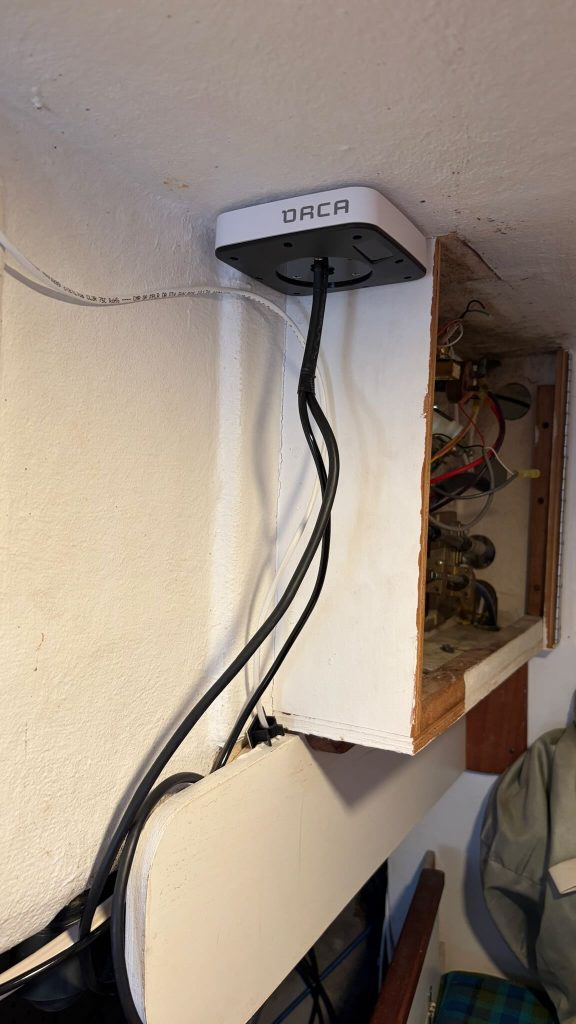
    Orca Core 2 being installed

    As I’m sure you’ve heard, Orca is a modern navigation system that does what a lot of chart plotters do, but in a relatively open platform. That’s not to say it isn’t proprietary, but it’s designed to connect to most other systems using modern protocols (NMEA 2000 and WiFi, most importantly). With the Core 2 connected to our ship’s NMEA backbone, I was able to pull up the software on my smartphone to see our course and speed, along with data from our depth sensor and battery shunt.

    The boat does not have a permanent connection to the Internet, but if/when we add that the Orca will be able to relay all its data to us via their cloud servers, meaning we’ll be able to monitor the boat’s location and systems even when we’re not on board. I’m looking forward to that peace of mind, if we leave her on anchor while we go into a port for dinner or supplies!

    The most impressive feature of Orca comes with its integration into the autopilot. Orca with its GPS and course plotting, plus the array of sensors in the Raymarine Evolution autopilot system, work fantastically together to keep the boat on course.

    Autopilot
    EV-1 sensor core installed

    Our new autopilot system is the Raymarine EV-100 Tiller Pilot. This is a pretty slick system by itself. The EV-1 sensor core contains an array of sensors that are able to follow the motion of the boat through waves and compensate effortlessly to keep her on a straight course. I was impressed at how well it did so. The work it was doing became especially obvious when I took over manual control for a few minutes to maneuver out of the way of a passing freighter. I was able to see what it was doing with the tiller to hold the course before, but trying to steer myself through the same waves gave me added appreciation for the system’s efforts.
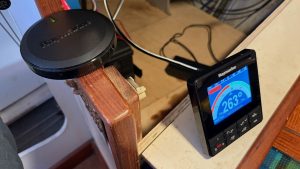
    autopilot EV-1 sensor core and p70s control head hooked up for testing

    This system by itself lacks a GPS, so it is only able to follow a magnetic heading, not a course to a waypoint. However, coupled with the Orca, the two systems work together to keep the boat on a track that I added in via my smartphone. To be fair, Orca actually helped me plot a course when it’s software took into consideration water depth and forecasted wind direction, to give me an optimal route to take to our destination (very slick)! It was a lot of fun to watch Orca continually adjust Raymarine’s magnetic heading to guide us precisely along the programmed route.

    Technical notes

    Before I got everything up and running, I had some faulty ideas about how it all works. Orca’s website has some information about integrating with Raymarine autopilots, but it was incomplete. Their website’s AI chatbot made things worse, giving me some incorrect details (good thing I didn’t trust it).

    The short of it is this.

    The Raymarine Evolution system includes three components. There’s the ACU-100 actuator which is the piece that actually operates the linear motor that moves the tiller (this piece can also run a wheel autopilot or a hydraulic actuator, depending on your boat). Then there’s the EV-1 sensor core, which is a pack of sensors that give the autopilot all the fancy position data it needs to operate well. Third, there’s the autopilot control head, something like the p70s.

    Since I already knew I would have Orca on board, and I was planning on using Orca to control the autopilot, I was inclined to believe I didn’t need all this equipment. The Orca Core contains all the same sensors as the EV-1 sensor core—and then some: GPS specifically. Plus, the autopilot control head seemed superfluous since I’d be using Orca software to control the autopilot. So, theoretically, it seemed like all I would need from Raymarine is the ACU and tiller drive motor. Right?

    Well, in practice, that’s not how it works. Due to proprietary reasons, the ACU will only accept position data from the EV-1 sensor core, even though the same data is available from another device on the network. And, even though Orca can control the basic operation of the autopilot, the Raymarine control head is required to access the setup and configuration settings. So, if you’re inclined to install a similar system, you’ll need the full kit from Raymarine even though it’s kind of duplicating a lot of the capabilities of Orca.

    Besides, a little redundancy is always a good thing. If for some reason the Orca stops working, for example, the autopilot will still work as a standalone system.

    Conclusion

    One thing that is missing from our setup, now, is an onboard wind sensor. With apparent wind data, Orca would be able to monitor our polar efficiency and plot courses more precisely while accounting for actual wind conditions instead of simply the forecasted conditions. I had thought that this level of data was a luxury for us, and only useful if we were racing, but after seeing the potential and how well Orca does so far, I find myself definitely wanting to add a wind sensor just to round out the tech.

    Somewhere I got the idea that S/V Rennaissance did some cool stuff that not only got them a full-fledged onboard weather station, but were also able to share that data out to weather aggregators on the open web. I’ll have to check that out!
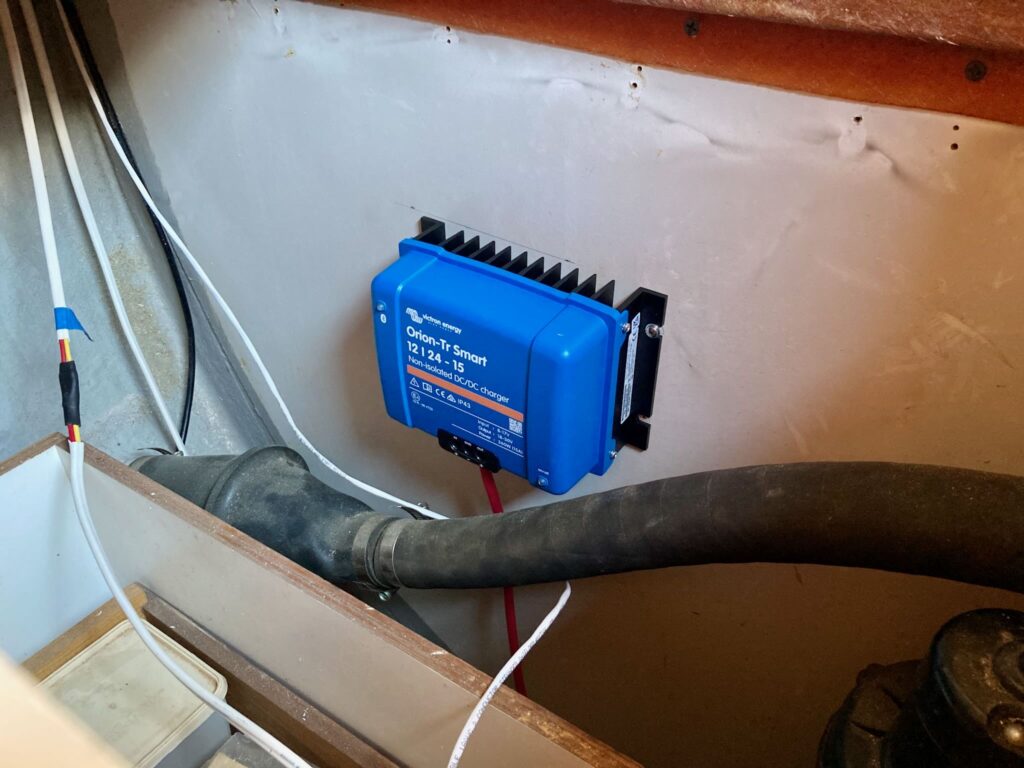
  • This week’s project was to install a DC-DC charger which will charge the house battery from the alternator on the engine. The engine electrics all run at 12VDC with a standard car/lawn mower type battery. My house battery is a LiFePO4 with a nominal 24VDC (actually closer to 29V when fully charged).

    Nate identified the alternator as having a rating of 35 amps. A rule of thumb I heard is that the DC-DC charger should be limited to about half that, so the starter battery and engine can get the power they need without overloading the alternator. I figured the Victron Orion-TR Smart charger would do the job.

    Victron Orion-Tr Smart DC-DC charger mounted on a vertical surface above the exhaust hose and a shelving unit.  Several wires are visible in the frame.  The charger is not yet fully connected to the wires.
    I installed the charger on a wall in a utility space below the nav desk. This location was ideal because it is close to my battery disconnect switches and both (engine and house) distribution panels.

    I took the opportunity to reroute some wires around the engine as well, and connect the new main disconnect switch for the engine starter battery.

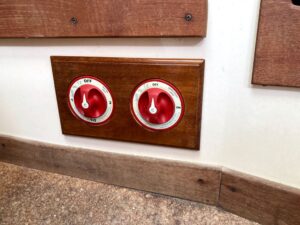
    Two main battery switches. The house battery runs through the switch on the left, and the engine battery runs through the switch on the right.

    The instructions from Victron suggested configuring the charger (via Bluetooth and the VictronConnect app) while it’s off and only the source power is connected. So that’s what I did. I used the charger’s internal meter to note the voltage of the system at several key points. With the engine off, the battery rested around 12.7V (good to know, the battery—purchased used—appears healthy). Within a few seconds after starting the engine, the alternator increased the voltage to around 14.0V. Over the next few minutes, presumably as the starter battery regained its charge, the system voltage increased further to 14.6V. It continued to slowly rise beyond that level as well. I used these voltages as references for programming the charger’s settings for engine run detection.

    It turns out that (even as smart as it is) the charger does not have a setting to adjust the maximum charging current. I wanted to set this to draw about half of the alternator’s rating. This would be 17.5A on the 12V side, or a little over 7A at 29V. Instead, the charger will adjust the current dynamically to maintain input voltage above a certain threshold, the shutdown voltage. So for my purposes I ended up setting the shutdown voltage quite a bit higher than it might need to be otherwise. This will ensure that the alternator does not overheat and that priority will be given to the starter battery to get a good recharge right away.

    For now I have to guess, because I don’t have an accurate current meter. A good battery monitor is on order, though, which will let me fine tune the charger if needed. For now, I’ve set the shutdown voltage to 14.1V. This means that the charger will not do any charging when the voltage on the engine side is below 14.1V. I also set the start voltage to 14.6V, which allows the engine starter battery to have at least partially recharged before this charger kicks on. A third parameter, start delay, I set to 14.4V with a 120 second delay. This means that if the voltage is about 14.4V for over 120 seconds, the charger will also turn on. Hopefully this results in a good balance between topping off the starter battery while also giving some current to the house battery.

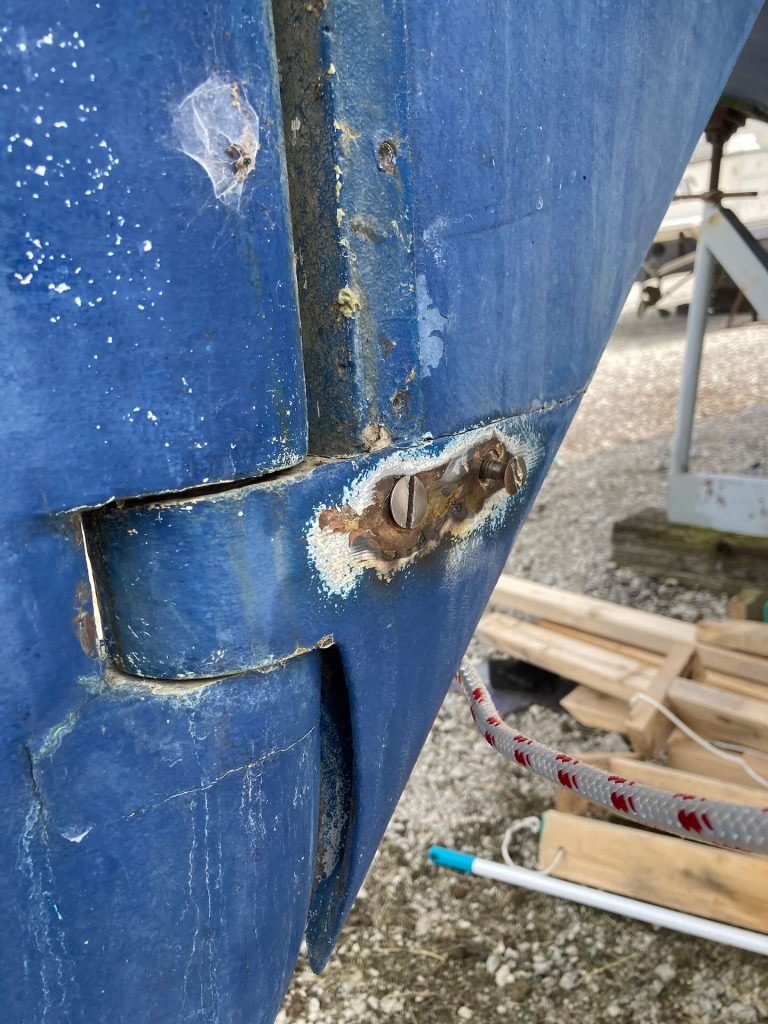
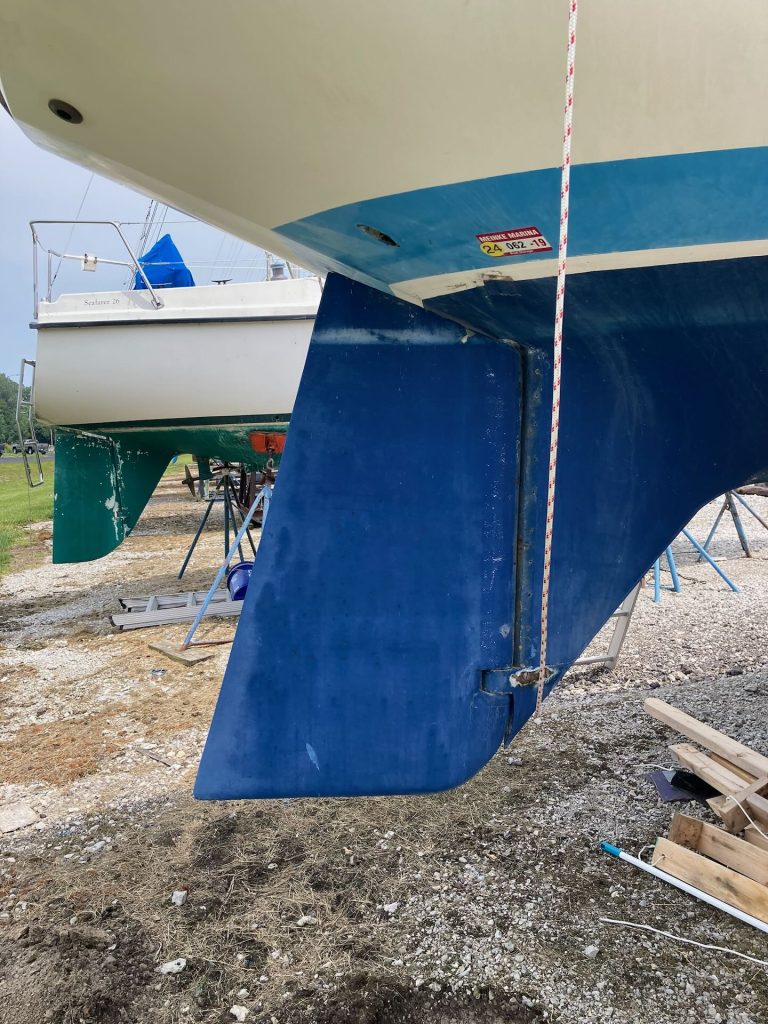
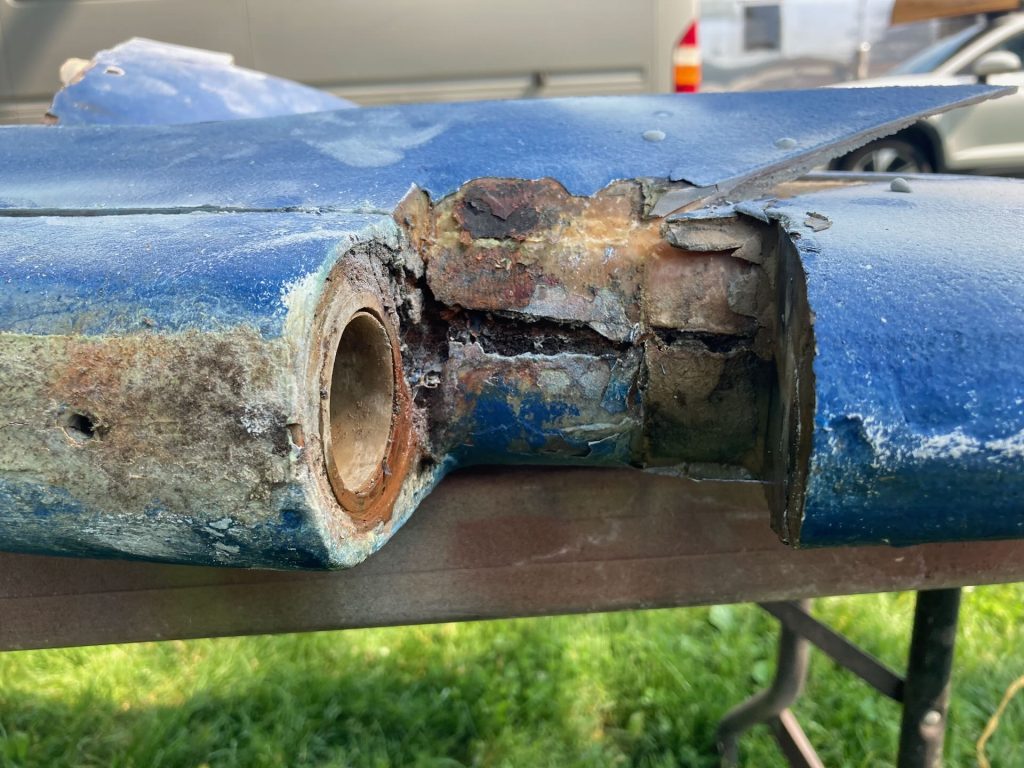
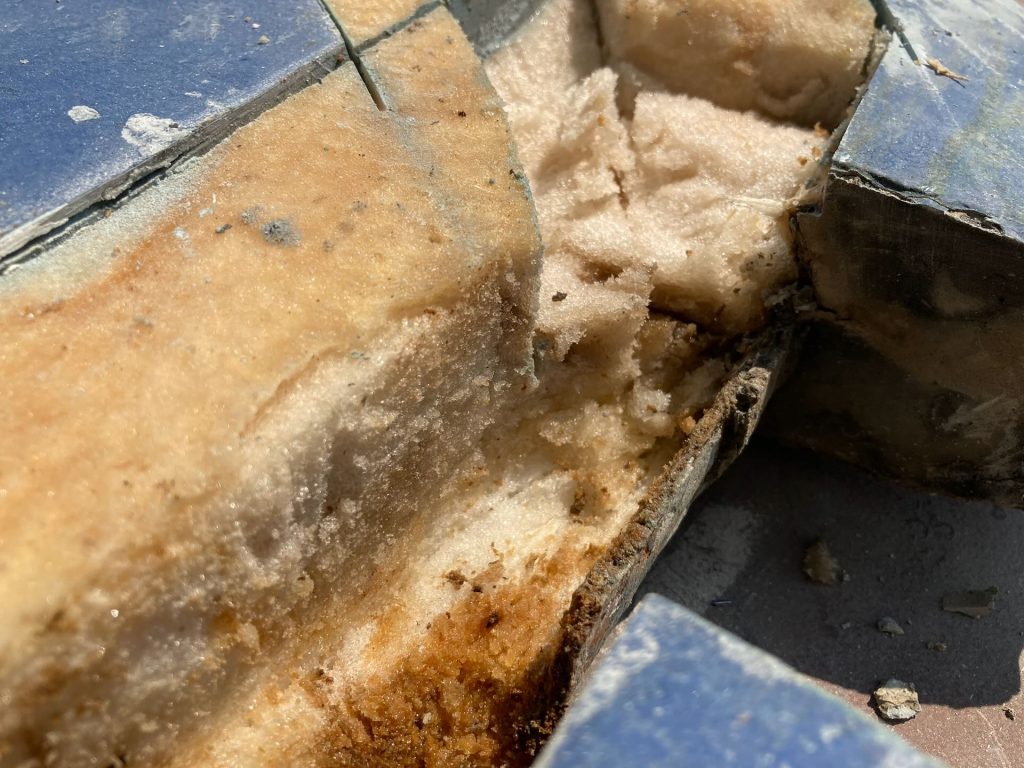
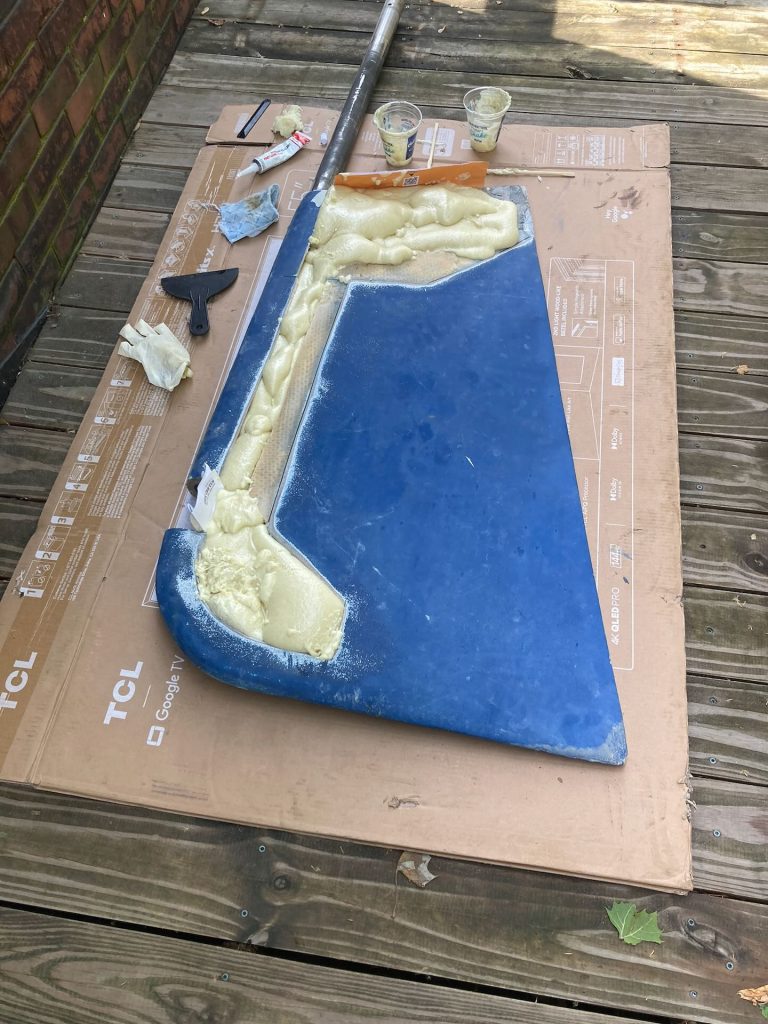
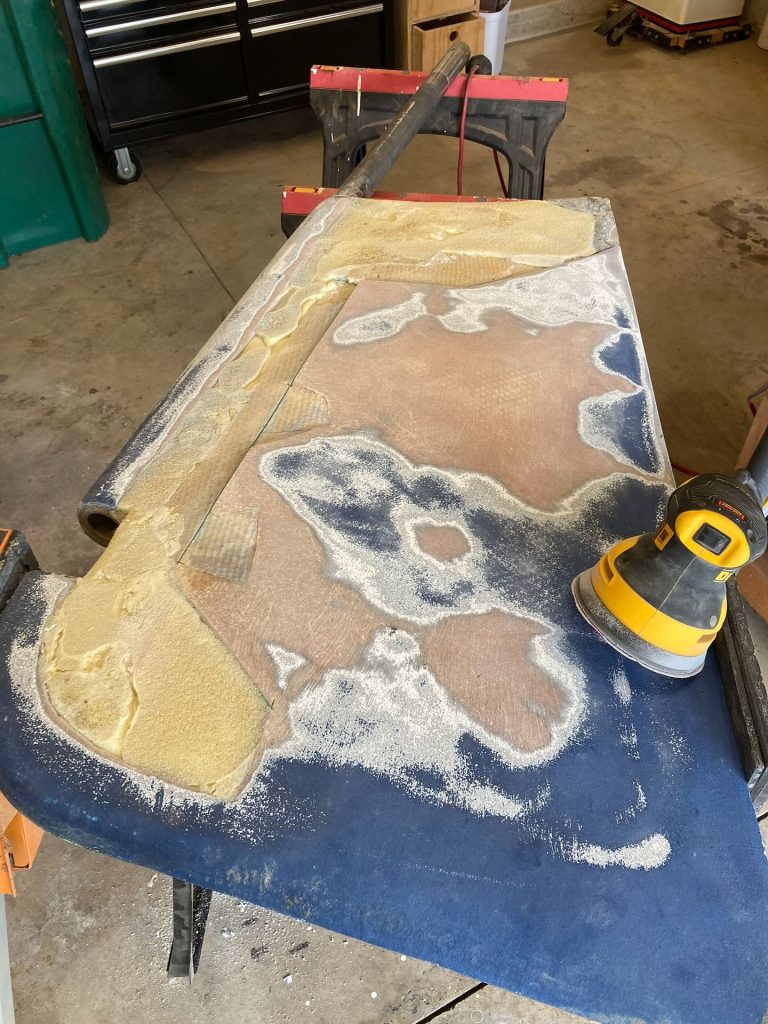
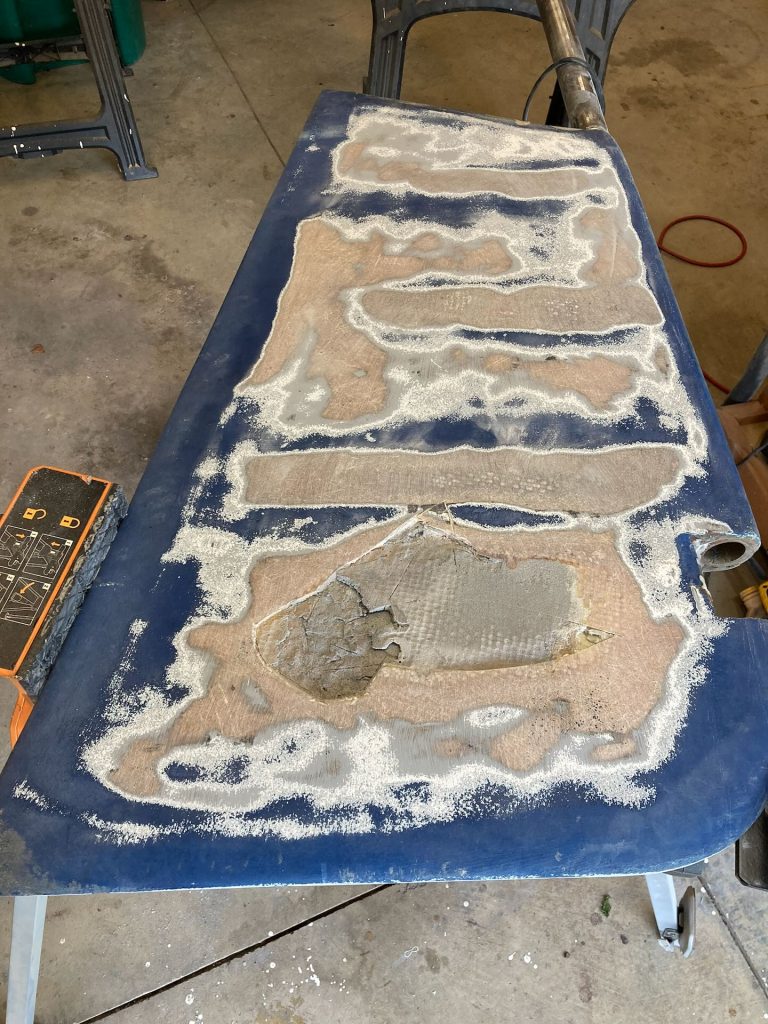
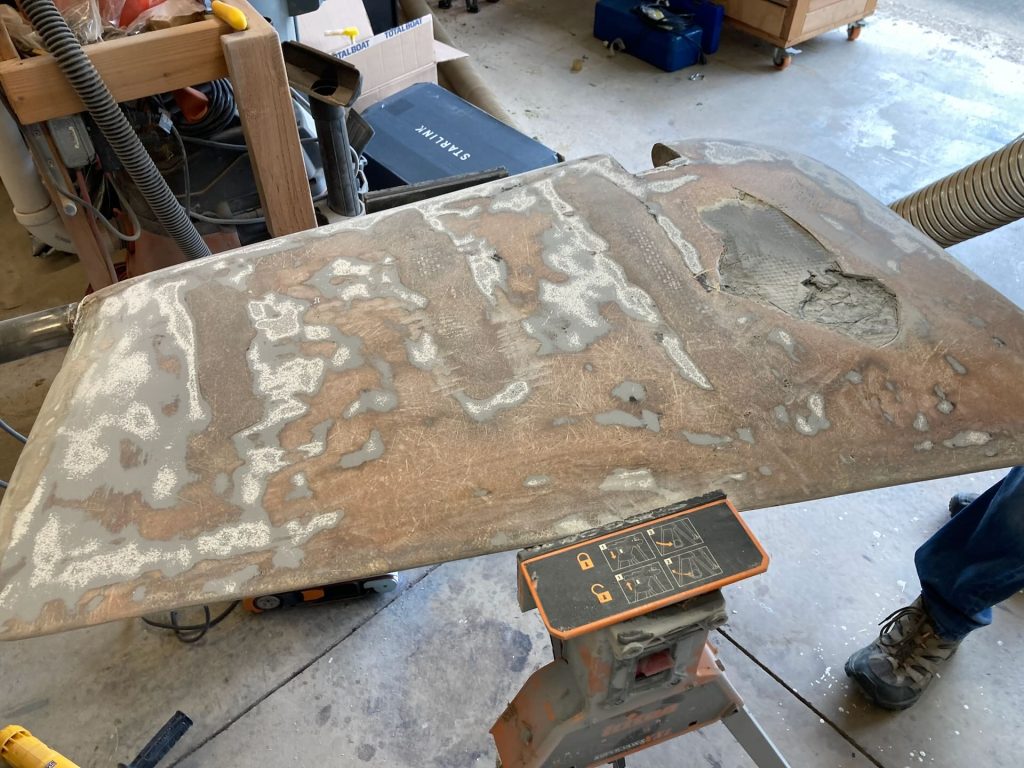
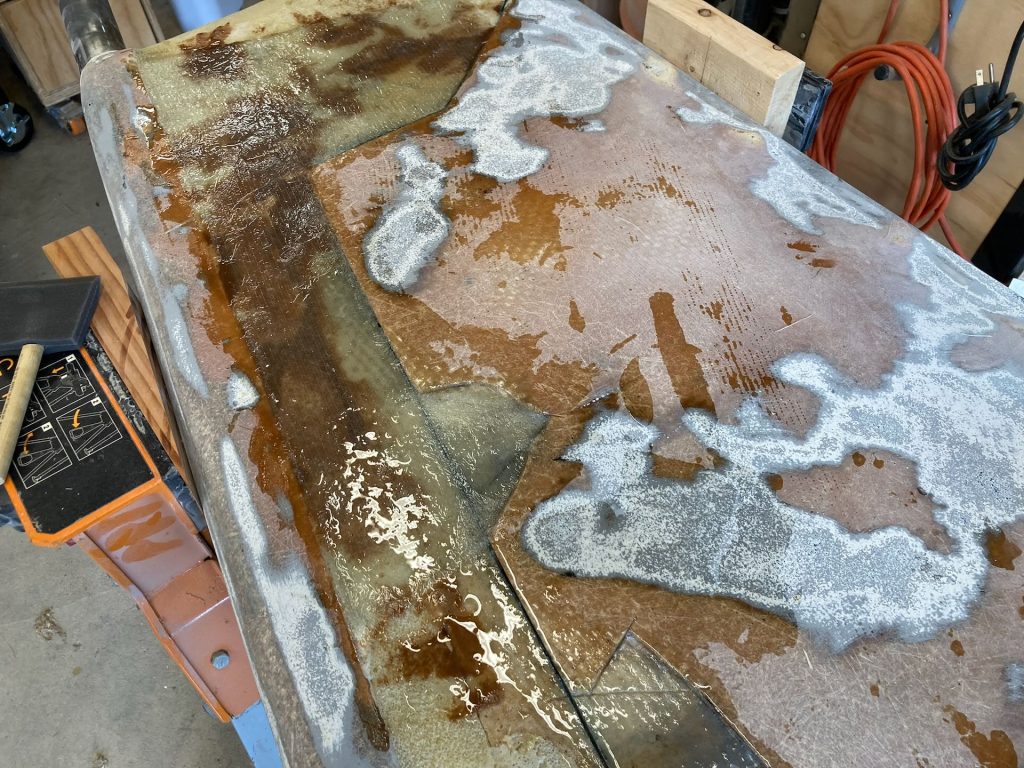
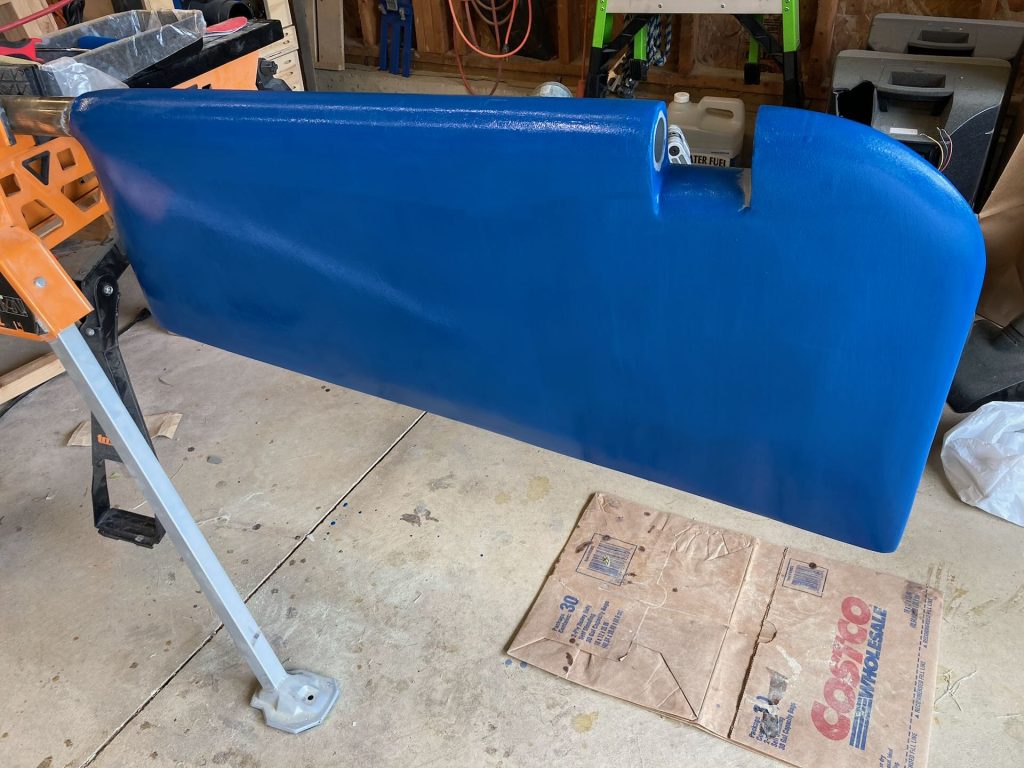
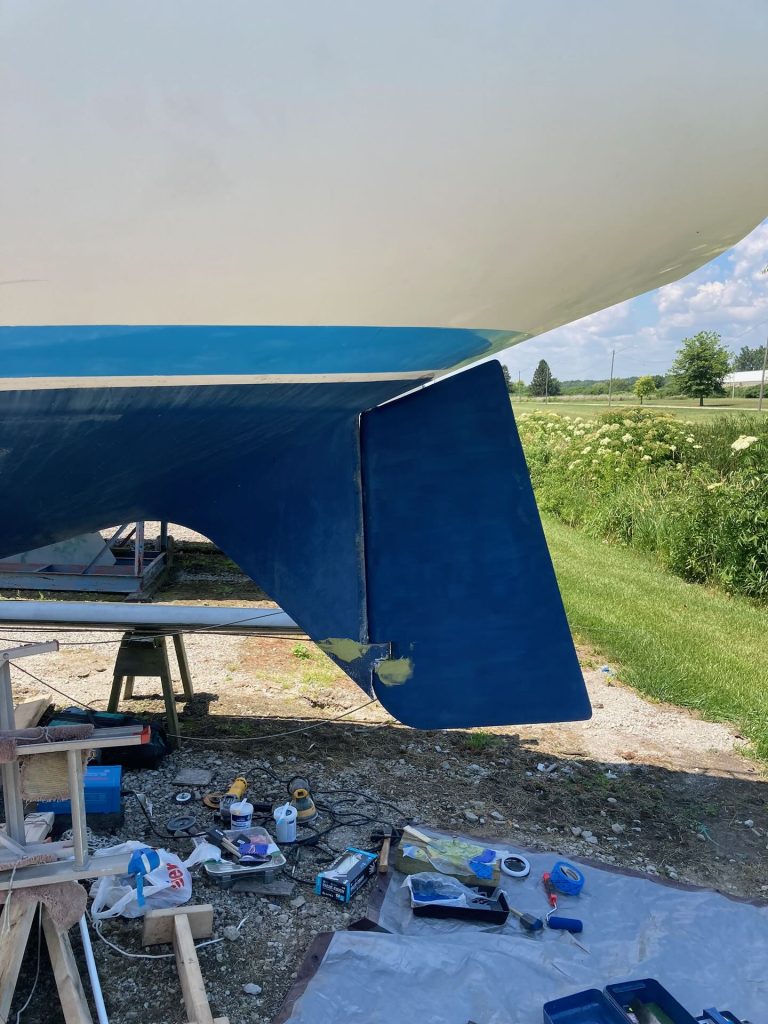
  • The first order of business before getting the boat in the water was to repair the rudder. There were signs that water had gotten inside, most visibly from a crack along the top edge of the rudder (against the hull).

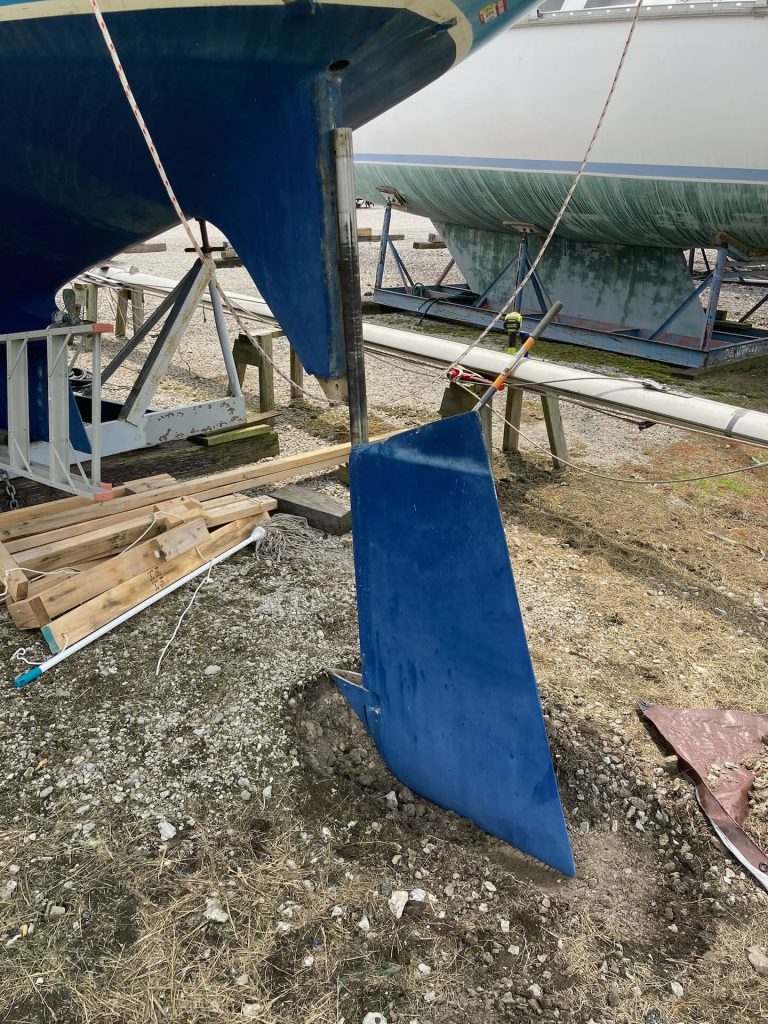
    While it might have been possible to execute the repair while the rudder was on the boat—and many professionals will do the work this way—I decided that removing it and doing the work in a more convenient location would be far easier for me. But, of course, that meant I had to figure out how the rudder comes off the boat. This is not a procedure that the manufacturer intended to be done very often, if at all.

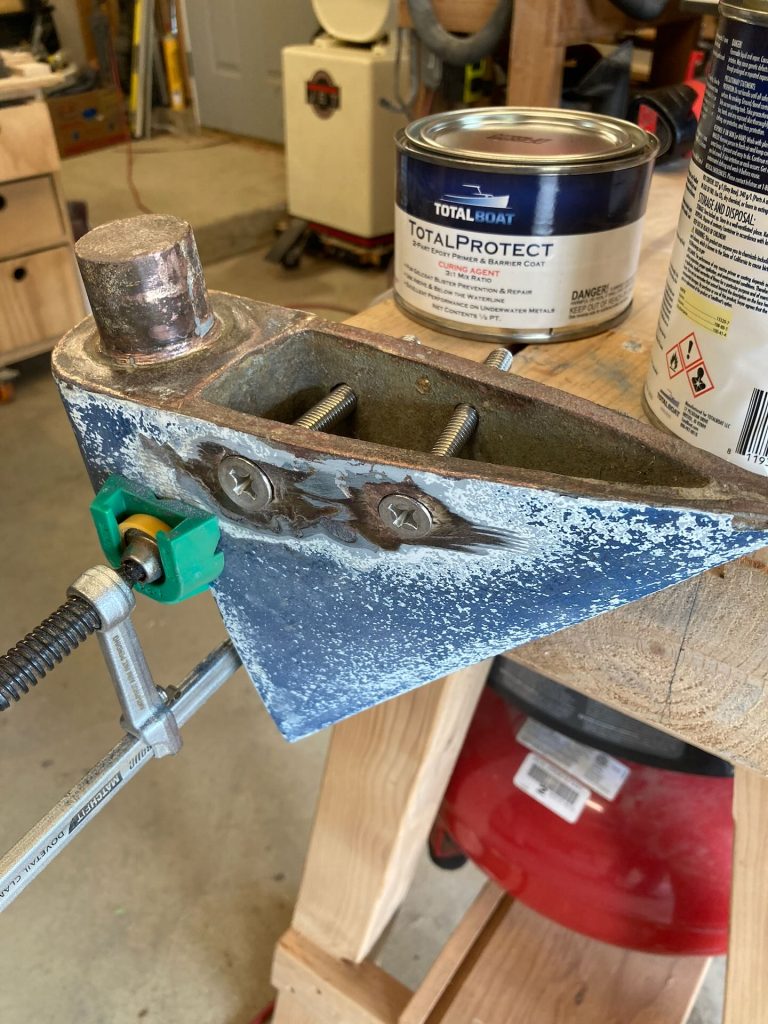
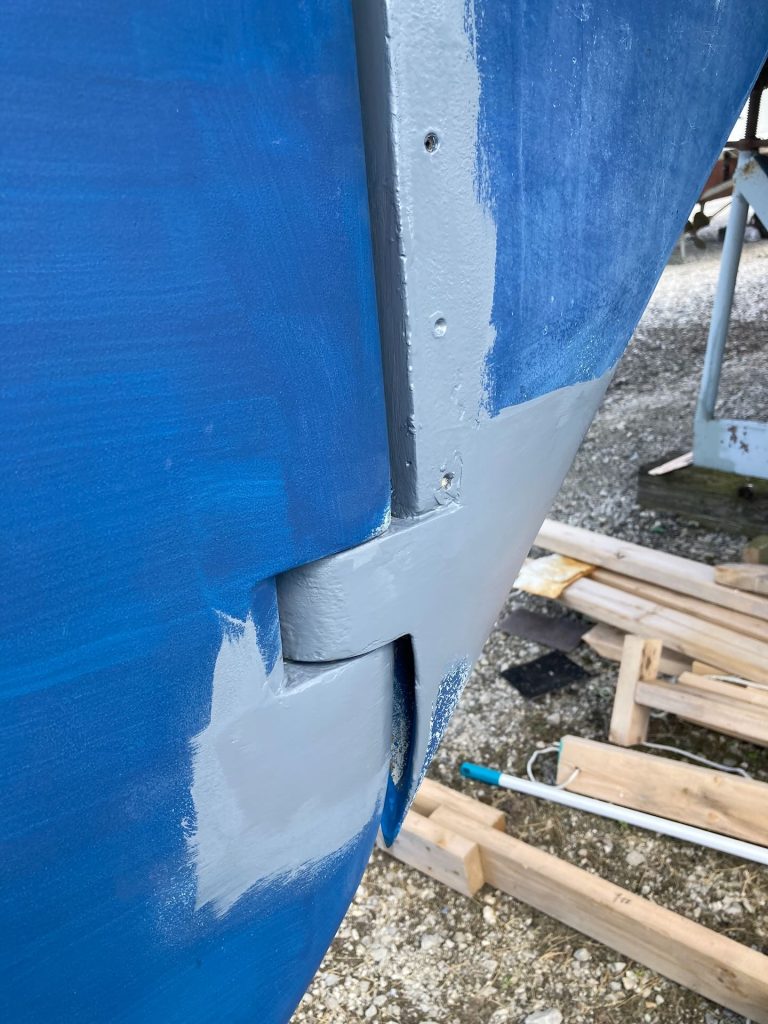
    Simply speaking, a bronze piece bolted to the foot of the skeg contains a bearing where the base of the rudder post rests. Remove two bolts and everything comes off the skeg. The rudder post exits the hull downward, which means that we needed enough clearance under the hull for it to come out. We got lucky in that by digging out a few inches of gravel we were able to create this clearance. If the cradle was not set on the edge of a small hill, we likely would have had to lift the boat off the cradle in order to remove the rudder.

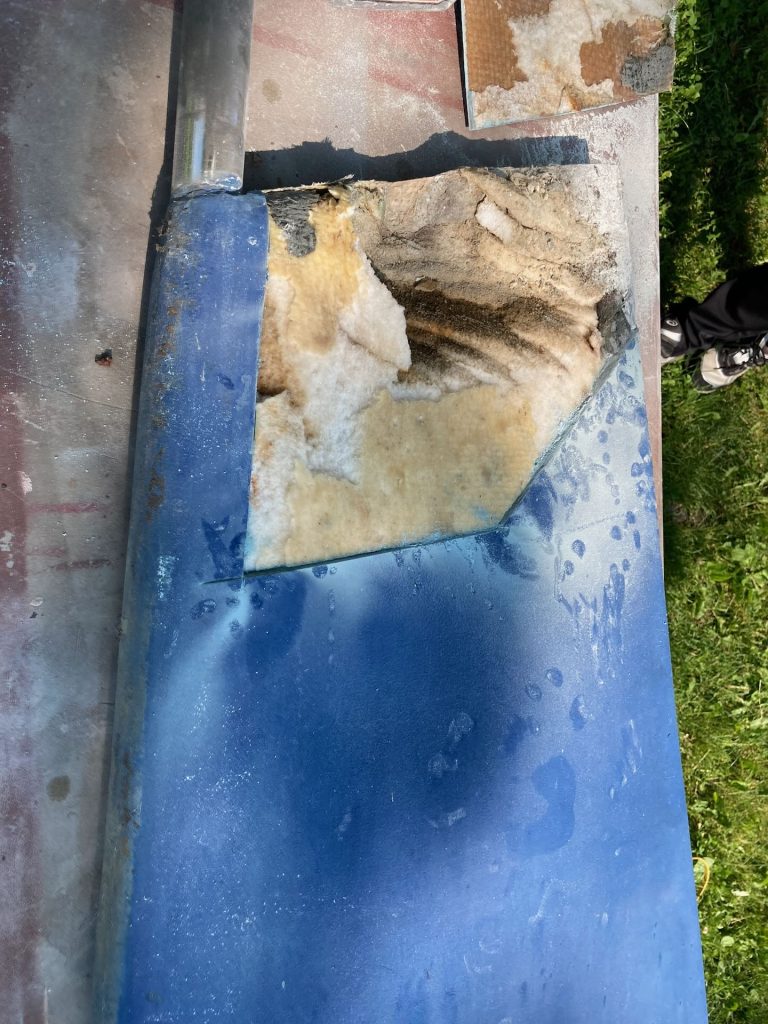
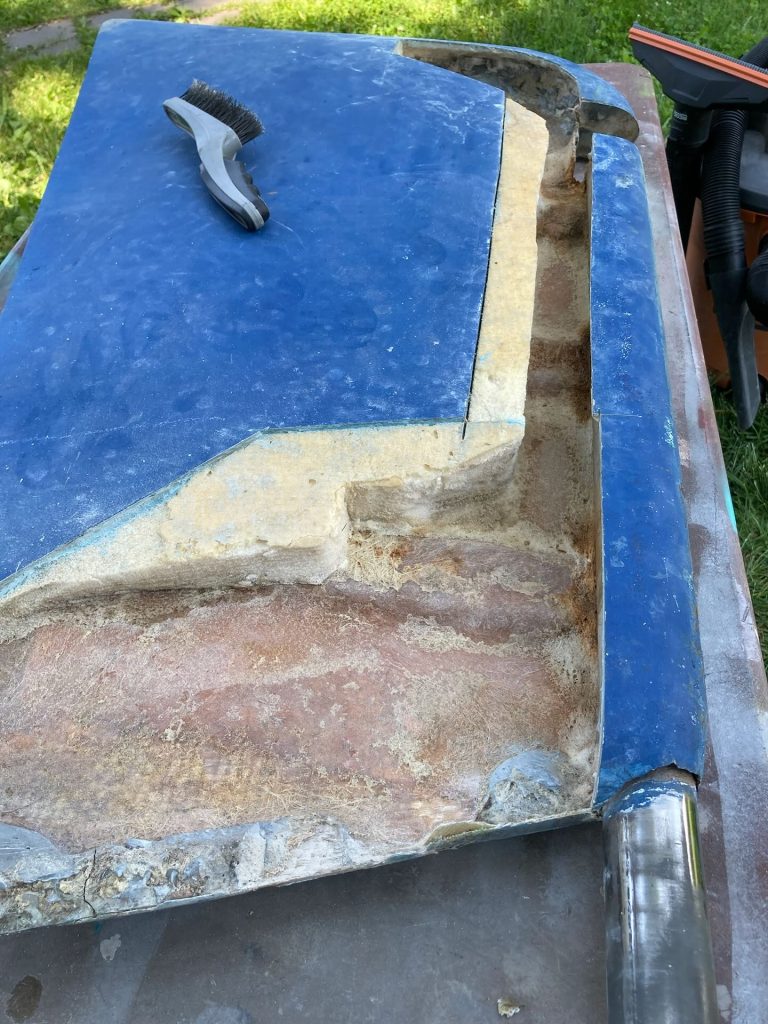
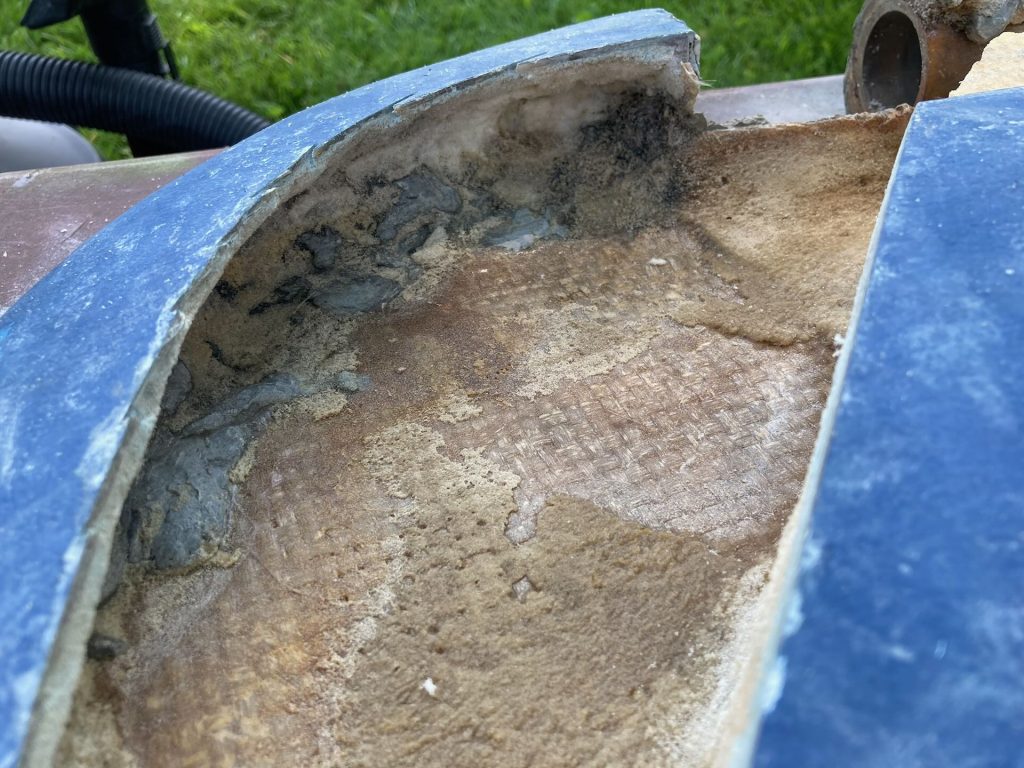
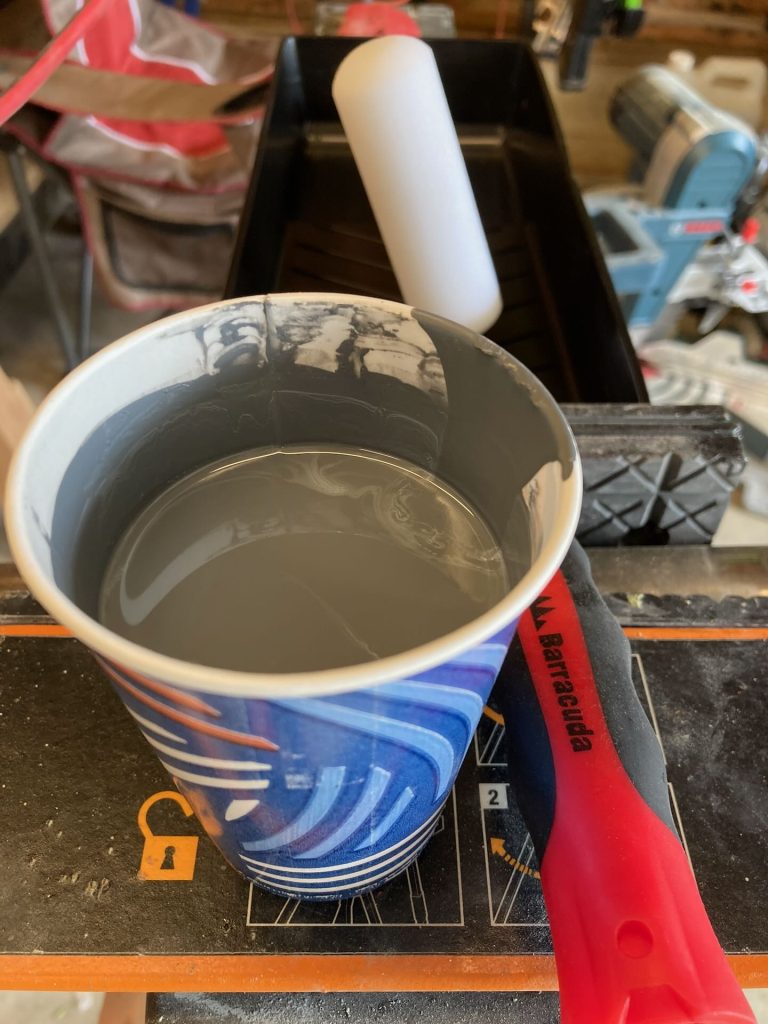
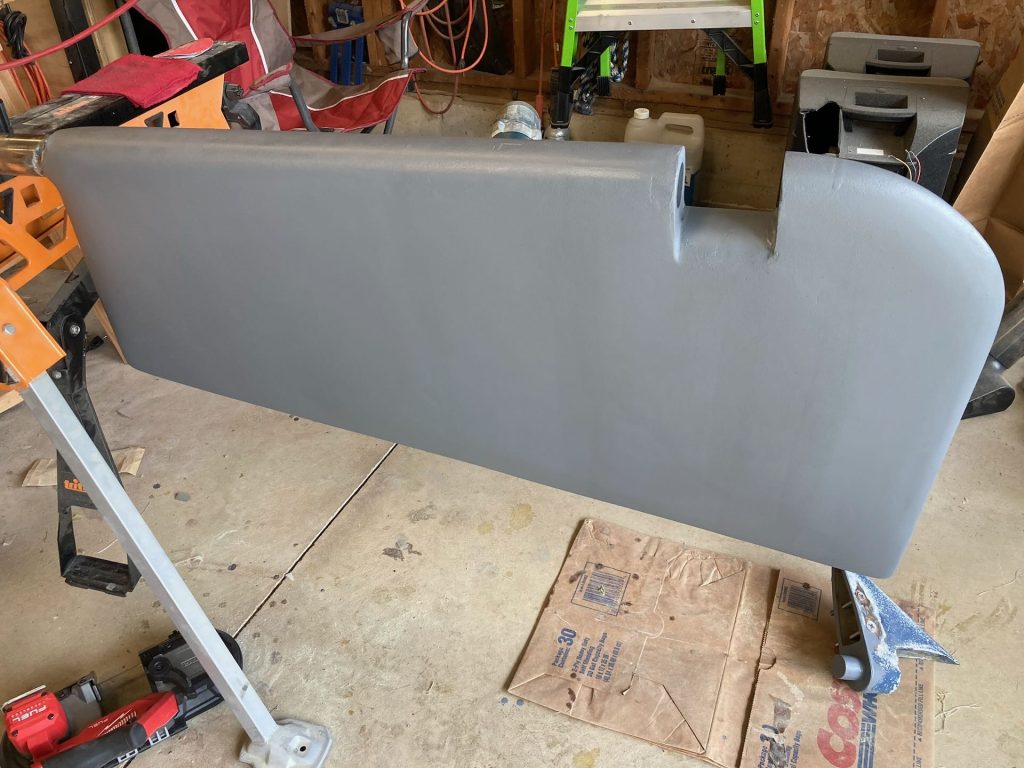
    Once off the boat, repairing the rudder was a simple job of removing damaged material and then rebuilding the foam-core rudder with new two-part expanding foam and a new fiberglass skin.

  • Ever since I was a kid, I had a dream that someday (someday) I would live aboard a sailboat and sail around the continent. As my partner and I started dreaming together, we got into the habit of watching sailing videos on YouTube. One sailor repeated the advice that the best time to sail is now: if you are thinking about it, don’t wait until the perfect opportunity comes along to sail on the perfect boat. Just get out there and enjoy the wind.

    I idly made a comment about this dream and this advice to a friend, simply making conversation with someone whom I knew to be a sailor. To my surprise, a few days later they contacted me letting me know that they had an older sailboat they were thinking about selling. They’d give me a good deal. Now, in all seriousness, we had not been looking at the market at all. We were still in the dreaming phase. But since a friend offered for us to look at the boat, we figured it couldn’t hurt.

    Long story short, it was an offer we couldn’t refuse. Even though the timing was not what we expected (I’m about a year out from finishing school, and my partner is also in the midst of orchestrating a career change), the boat was a fantastic entry into sailing—and potentially living aboard. The price was affordable, and the condition of the boat was just right for our ability to take on a project.

    A dirty old sailboat, mast horizontal in front of the hull, on its cradle in a gravel lot
    Altair on the hard (and a bit dirty), when we bought the sailboat.

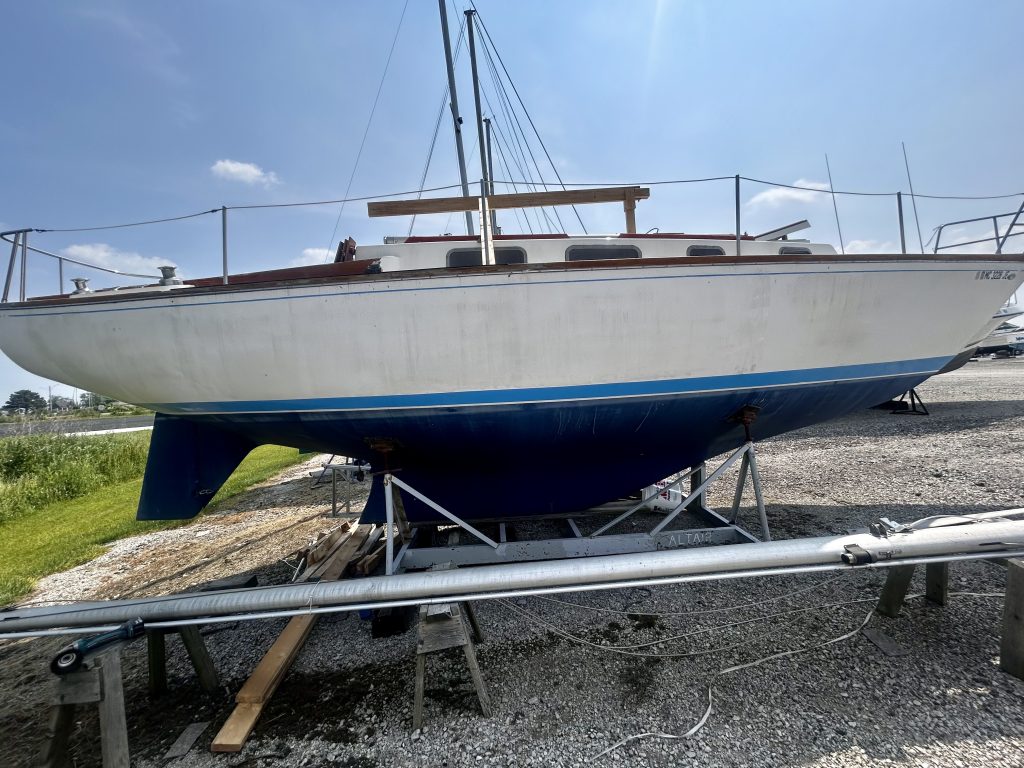
    So, in June, we jumped in and became boat owners! Altair, a Tartan 34C, had been sitting on the hard for a few years undergoing significant maintenance. The previous owners re-cored the deck and began a major cabin refit. Sails and rigging were in good condition, so with the new deck there were really only two major projects to get her ship shape and in the water. The first (and critical one) was that the rudder had some water infiltration and needed repairs. The second was to finish what was started with refitting the cabin, which involved all new electrical systems and finishing out the teak trim.

    The goal was to get her in the water before the end of the season. Projects ahoy!